Spider plants (Chlorophytum comosum) are popular houseplants known for their long, arching leaves and ability to produce “spiderettes” or “babies” that can be propagated to grow more plants. Here’s a step-by-step guide on how to grow more spider plants:
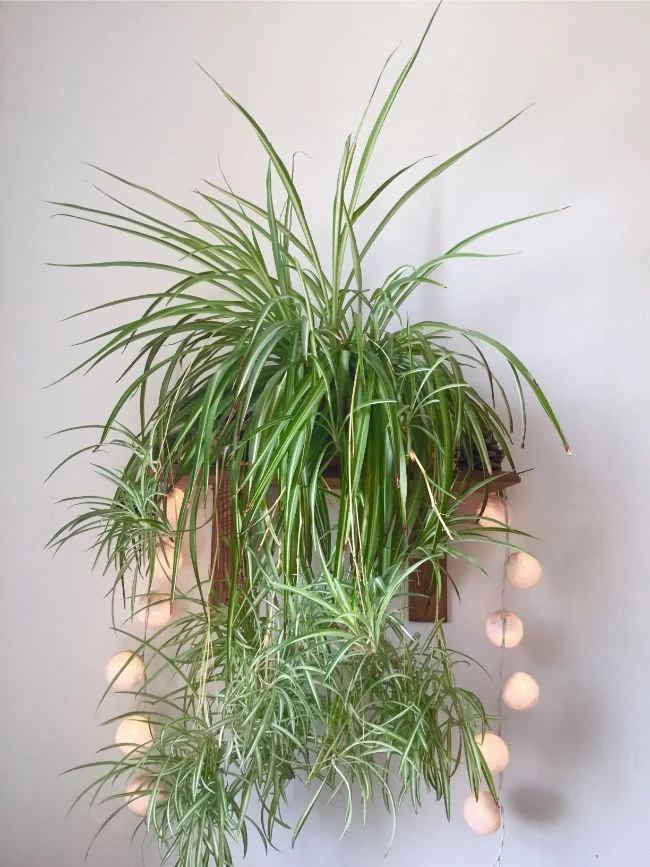
- Locate spiderettes: Spider plants produce small plantlets, or spiderettes, that grow from long stems called runners. These spiderettes are miniature versions of the parent plant and can be used for propagation. Look for spiderettes that have developed roots or are about 2-3 inches long.
- Prepare containers: Get small pots or containers that have drainage holes at the bottom. Spider plants prefer well-draining soil, so choose a potting mix that is suitable for houseplants.
- Separate spiderettes: Gently separate the spiderettes from the parent plant. You can do this by carefully removing the spiderettes from the runner or by snipping the runner with a clean pair of scissors. Ensure that each spiderette has a few roots attached.
- Plant spiderettes: Place each spiderette into its own pot, burying the roots in the soil. Ensure the spiderettes are planted at a depth that covers the roots but keeps the foliage above the soil.
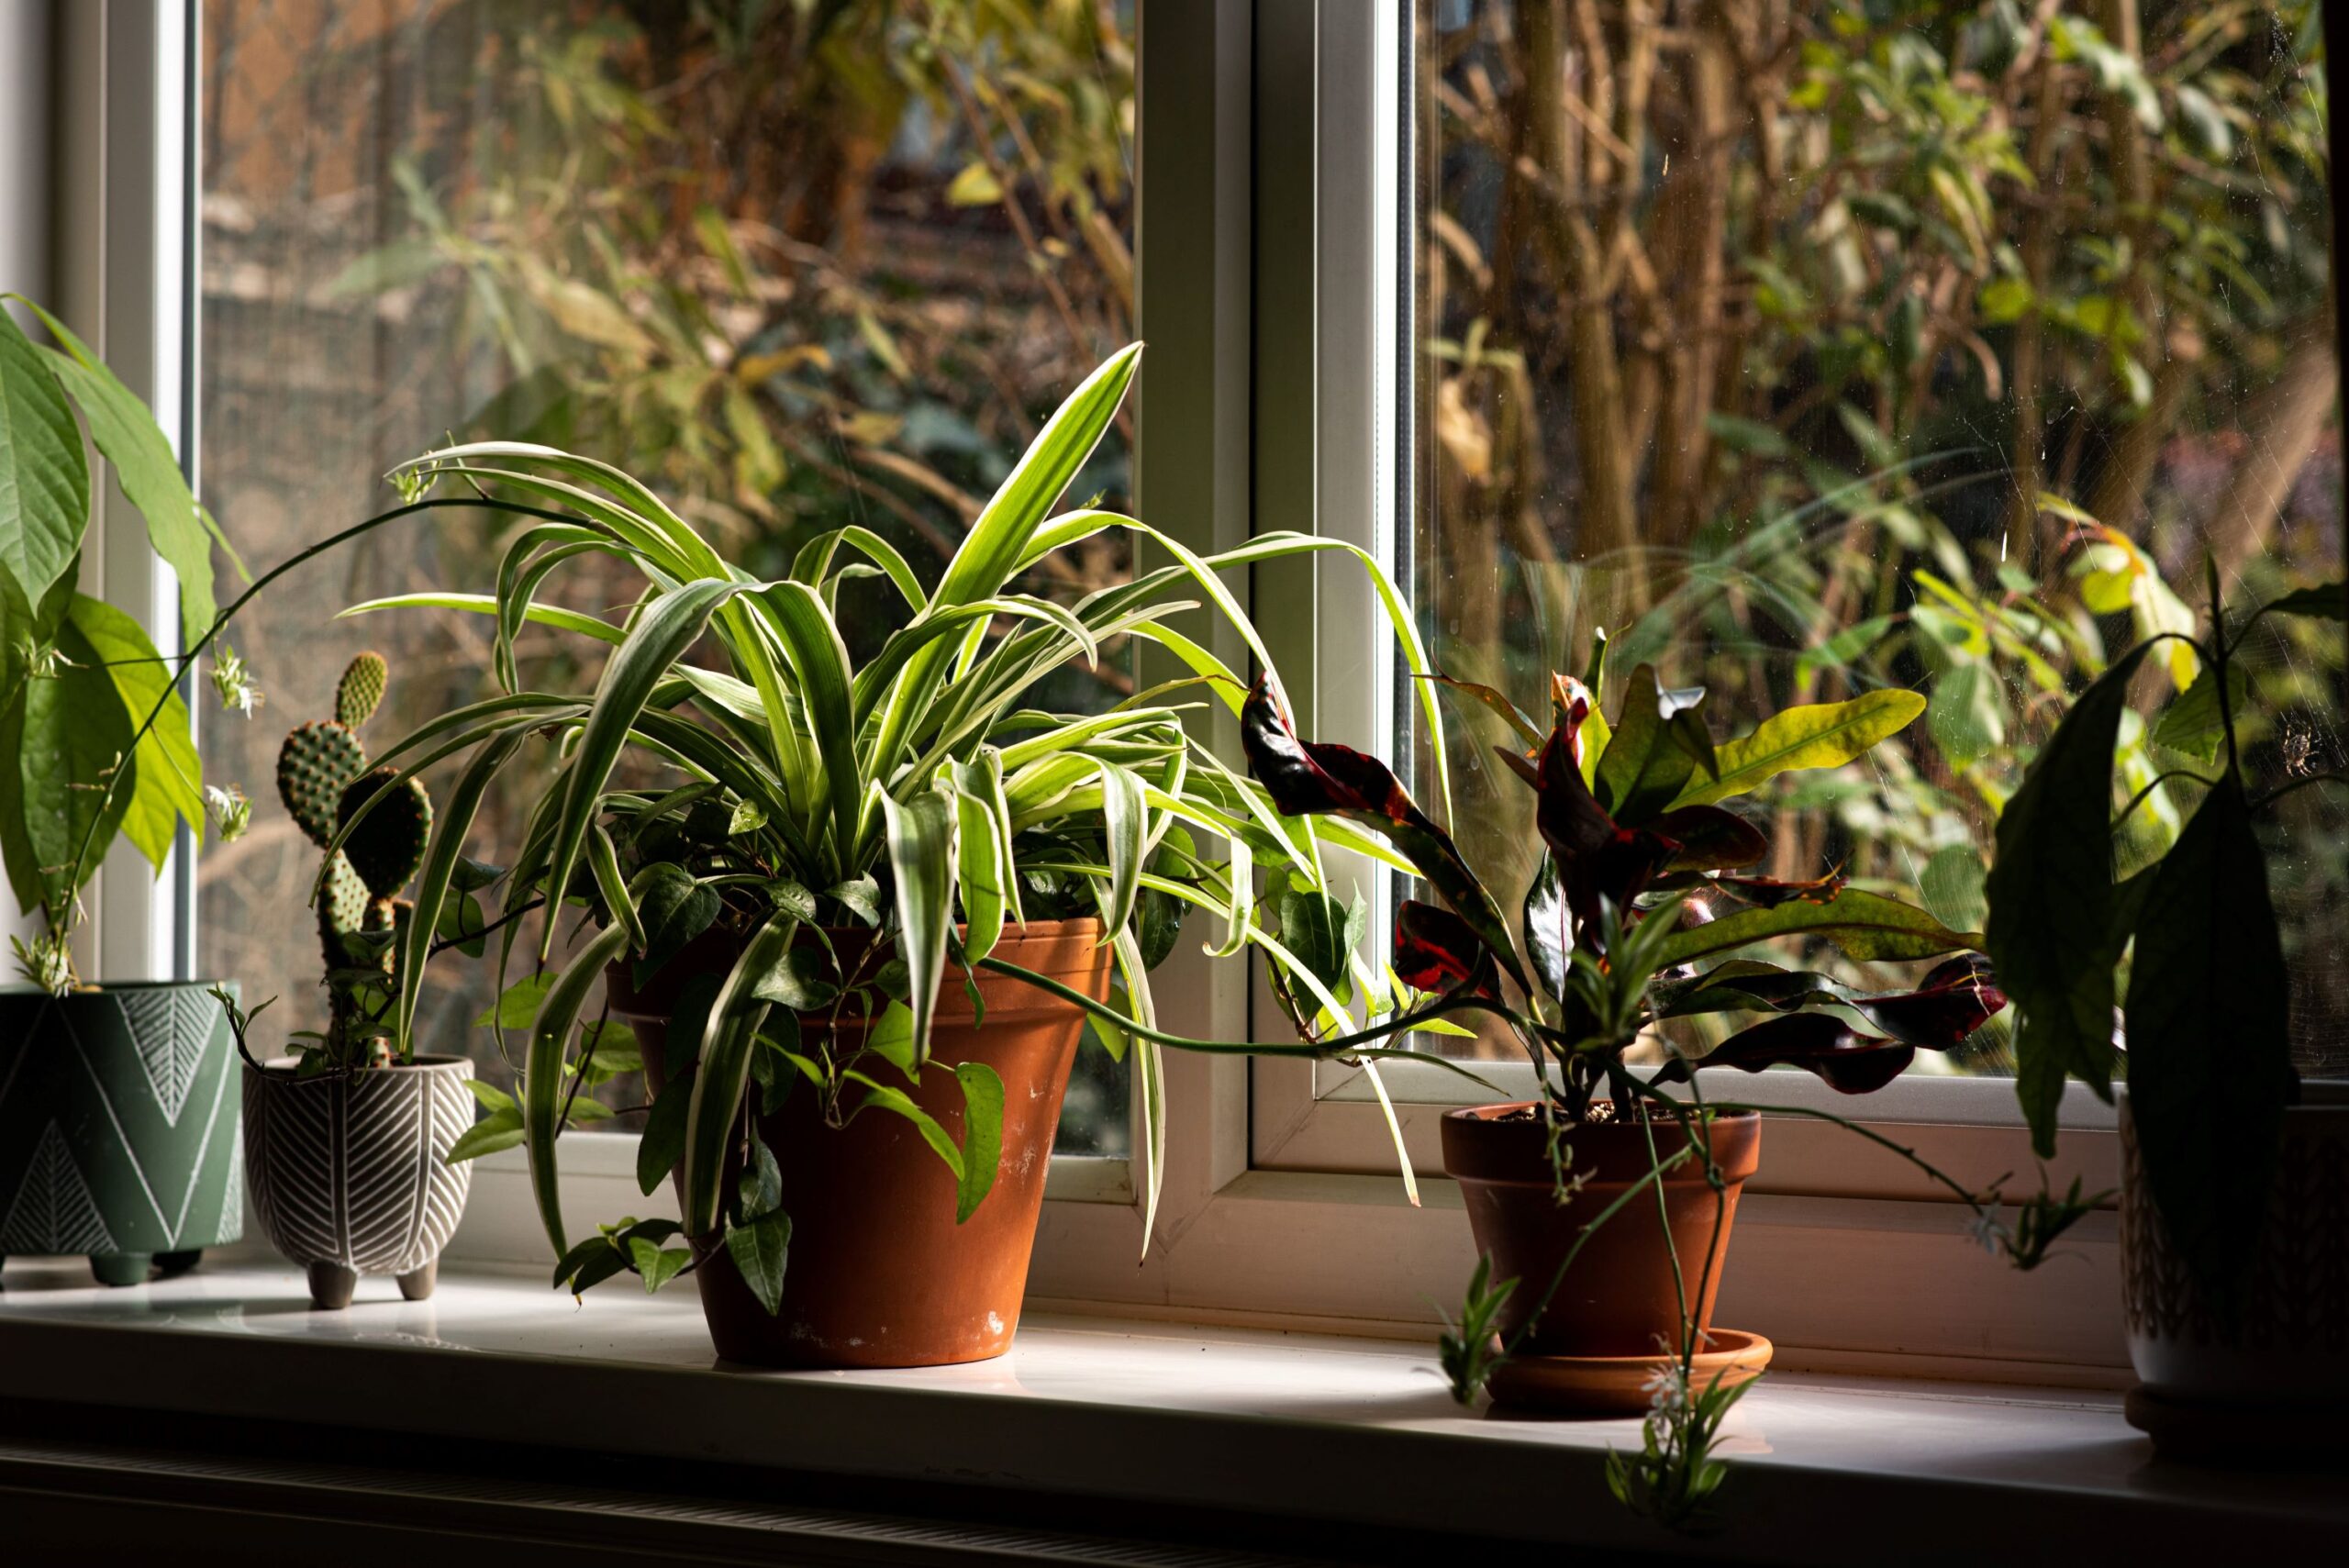
- Provide appropriate care: Spider plants thrive in bright, indirect light. Place the newly potted spiderettes in a location with bright, filtered light. Avoid direct sunlight, as it can scorch the leaves. Maintain a temperature range of 60-75°F (15-24°C).
- Watering: Spider plants prefer evenly moist soil but can tolerate slight drying between watering. Water the spiderettes thoroughly, allowing excess water to drain out of the pot. Ensure the top inch of soil dries out before the next watering.
- Humidity and misting: Spider plants appreciate slightly higher humidity levels. You can increase humidity by misting the plants with water or placing the pots on a tray filled with pebbles and water. As the water evaporates, it creates a humid microclimate around the plant.
- Fertilization: Feed your spider plants with a balanced houseplant fertilizer during the growing season (spring and summer) following the instructions on the fertilizer package. This helps provide the necessary nutrients for healthy growth.
- Maintenance: Regularly remove any yellow or brown leaves to maintain the plant’s appearance. Spider plants can become pot-bound over time, so consider repotting them into slightly larger containers if the roots start to outgrow their current pots.
With proper care and patience, your spider plant spiderettes should start growing into mature plants over time. This method allows you to expand your spider plant collection and enjoy more of these beautiful houseplants.
Why is My Spider Plant Not Producing Babies? (Spiderettes)
There could be several reasons why your spider plant is not producing spiderettes or babies. Your pot may be too big. A spider plant will only start to create babies when it has filled the soil in its own pot with roots. The plant will begin to create babies as a way of searching for more fertile soil.
Here are a few potential factors to consider:
- Age of the plant: Spider plants typically start producing spiderettes once they reach a certain maturity. Younger plants may not have reached this stage yet. If your spider plant is relatively young, give it some more time to mature, and it should eventually start producing spiderettes.
- Insufficient light: Spider plants require bright, indirect light to stimulate the production of spiderettes. If your plant is not receiving enough light, it may not produce babies. Try moving it to a brighter location, such as near a window with filtered light or provide supplemental artificial lighting.
- Inadequate humidity: Spider plants prefer slightly higher humidity levels. Dry indoor environments can hinder the production of spiderettes. Increase the humidity around the plant by misting it regularly or placing a tray of water with pebbles beneath the pot to create a humid microclimate.
- Improper watering: Overwatering or underwatering can impact the health and growth of spider plants. Inconsistent watering practices or allowing the soil to become too dry or waterlogged can stress the plant and inhibit the production of spiderettes. Ensure you are watering your spider plant appropriately, keeping the soil slightly moist but not overly saturated.
- Nutrient deficiencies: Spider plants require adequate nutrients for healthy growth and reproduction. If your plant is not receiving sufficient nutrients, it may not produce spiderettes. Consider feeding your spider plant with a balanced houseplant fertilizer during the growing season to ensure it has the necessary nutrients.
- Stress or environmental factors: Spider plants can be sensitive to changes in their environment or stress factors such as extreme temperatures, drafts, or air conditioning. Ensure that your plant is placed in a stable environment with consistent temperature and minimal disturbances.
By addressing these potential issues and providing the appropriate care, you can encourage your spider plant to produce spiderettes. Remember to be patient, as it can take some time for the plant to reach the maturity required for spiderette production.
How to force your spider plant to produce babies?
While you cannot force a spider plant (Chlorophytum comosum) to produce babies on command, there are a few techniques you can try to encourage spiderette production:
- Adequate light: Spider plants require bright, indirect light to stimulate the production of spiderettes. Place your spider plant in a well-lit location, ideally near a window with filtered light. Avoid direct sunlight, as it can scorch the leaves.
- Optimal temperature: Spider plants prefer temperatures between 60-75°F (15-24°C). Ensure that your plant is not exposed to extreme temperature fluctuations, drafts, or cold air. Stable and moderate temperatures can promote healthy growth and spiderette production.
- Adequate watering: Provide consistent and appropriate watering for your spider plant. Keep the soil slightly moist but not waterlogged. Avoid overwatering or allowing the plant to dry out completely, as both conditions can stress the plant and hinder spiderette production.
- Fertilization: Spider plants benefit from regular feeding during the growing season (spring and summer). Use a balanced houseplant fertilizer and follow the instructions on the package. Proper nutrition can encourage overall plant health and potentially stimulate spiderette production.
- Encourage humidity: Spider plants appreciate slightly higher humidity levels. Increase the humidity around the plant by misting it regularly or placing a tray of water with pebbles beneath the pot. This creates a humid microclimate that may be conducive to spiderette production.
- Patience: Spider plants naturally produce spiderettes as part of their growth cycle, but it may take time for them to develop. Be patient and continue providing proper care to your plant, and it should eventually produce spiderettes when it’s ready.
- Repot: Relocate plant to a smaller pot. Too large of a pot will not give the spider plant a reason to stretch out
Should I Cut the Babies off My Spider Plant?
Cutting off the spider plant babies, also known as spiderettes, is a common practice for propagation and maintaining the overall health and appearance of the parent plant. Here are a few considerations regarding cutting off spider plant babies:
- Propagation: One of the main reasons to cut off spider plant babies is to propagate new plants. Spiderettes can be rooted in water or planted directly into soil to grow new spider plants. This allows you to expand your collection or share plants with others.
- Plant health and aesthetics: Over time, spider plant babies can grow and start to take up space around the parent plant. Removing some of the spiderettes can help improve the overall appearance of the plant and prevent overcrowding. It also allows the parent plant to allocate more energy towards its own growth and health.
- Root-bound plants: Spider plants can become root-bound if left undisturbed for too long. If the parent plant’s roots start to outgrow the pot or become tightly packed, it’s a good idea to repot the plant and remove some spiderettes in the process.
- Maintenance and control: Removing spiderettes can help you maintain and control the size of your spider plant. If you want to keep the plant compact and prevent it from spreading too much, regularly removing spiderettes can help achieve that.
When cutting off spider plant babies, it’s essential to handle them gently to avoid damaging the parent plant or the spiderettes themselves. Use clean scissors or gardening shears to snip off the spiderettes close to the base or the runner from which they originate.
You can choose to propagate the spiderettes by placing them in water until they develop roots or by planting them directly into moist soil. Once the spiderettes have established roots and started growing, they can be treated as individual spider plants.
By removing spiderettes as needed, you can maintain the health, appearance, and size of your spider plant while also propagating new plants for yourself or others.
Why Does My Spider Plant Baby Have no Roots?
Some spider plant babies will not grow roots, this is a sad, but common occurrence. Usually 2 out of 3 babies will start to form roots when put in water or fresh soil. Make sure the plant is at least the size of your palm before removing it from the parent plant.
If your spider plant baby (spiderette) has no roots, there could be a few reasons for this:
- Immaturity: Spiderettes are typically produced by the parent spider plant when it reaches a certain level of maturity. If the spiderette is very young, it may not have had enough time to develop roots yet. Give it some more time, and roots should start to emerge.
- Premature Separation: If the spiderette was separated from the parent plant too early, it may not have had the chance to develop roots. It’s important to allow the spiderettes to grow for a while on the parent plant until they develop a few inches of roots before separating them.
- Lack of Moisture: Spiderettes need adequate moisture to develop roots. If the humidity around the spiderette was low or if it didn’t receive enough moisture, it may not have developed roots. Ensure that the spiderette is in a suitable environment with proper watering to encourage root growth.
- Incorrect Propagation Method: Spiderettes can be propagated either by placing them in water or by planting them directly into soil. If you chose the water propagation method and the spiderette didn’t develop roots, it’s possible that it didn’t receive the necessary nutrients or conditions for root growth. Consider planting the spiderette directly into moist soil to provide a better environment for root development.
- Genetic Factors: Occasionally, spiderettes may have difficulty developing roots due to genetic factors. Some spiderettes may be less prone to root development than others. In such cases, you can try propagating multiple spiderettes to increase the chances of success.
If you have a spiderette without roots, you can still attempt to encourage root growth. Ensure that it is placed in a suitable environment with adequate moisture, proper humidity, and suitable propagation methods. With patience and proper care, the spiderette should eventually develop roots and grow into a healthy spider plant.
How Do I know when My Spider Plant Babies have Rooted?
Small white tendrils will appear at the stem. If planted in dirt, it will take a few weeks for the roots to take hold in the soil. After a month, a gentle tug will confirm if the plant has taken hold. Knowing when spider plant babies (spiderettes) have rooted can be determined by observing certain signs and changes in the plant.
Here are a few indicators that can help you determine if your spider plant babies have rooted:
- Visible roots: The most obvious sign of rooting is the emergence of visible roots from the spiderette. Check the base of the spiderette where it was in contact with water or soil. Look for thin, white, or light-colored roots growing from the base. These roots will become more prominent as they grow.
- Tug test: Gently and carefully give the spiderette a light tug. If it resists and feels firmly anchored, it likely has developed roots. On the other hand, if the spiderette comes loose easily, it may not have rooted yet.
- Growth of new foliage: Rooted spiderettes will often start showing signs of new growth. Look for new leaves sprouting from the center of the spiderette or the crown area. This indicates that the plant has established a root system and can support new growth.
- Sturdiness and stability: A rooted spiderette will exhibit increased stability and sturdiness. It will be able to stand upright without toppling over or becoming easily dislodged. This stability suggests that the roots have developed enough to support the plant’s weight.
- Water uptake: If you are propagating the spiderette in water, you may notice that the water level decreases over time. This indicates that the plant is actively taking up water through its roots, suggesting successful root development.
Keep in mind that the timeframe for rooting can vary depending on the environmental conditions, the health of the spiderette, and other factors. It generally takes a few weeks to a couple of months for spiderettes to develop a substantial root system. Be patient and continue to provide appropriate care and conditions for the spiderette during this period.
Once you observe signs of rooting, you can consider transitioning the spiderette to its permanent growing medium, such as potting soil, to continue its growth as an individual spider plant.
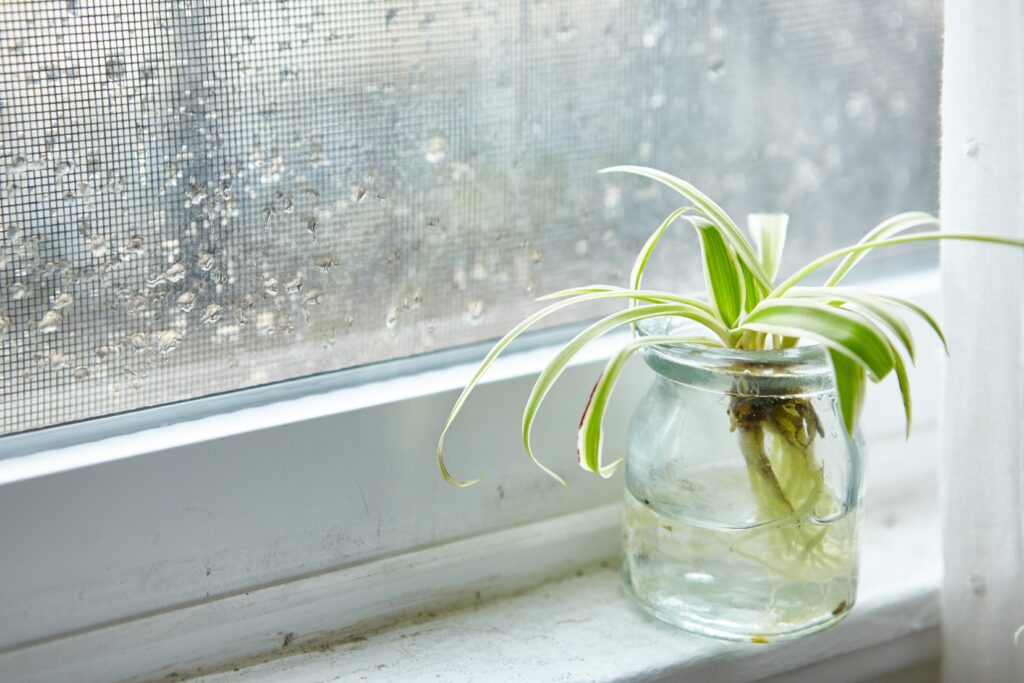
How long does it take for spider plant babies to root in water?
1-2 weeks. You should start to see small white roots forming at the base of the stem that are 1-3 cm / 1 inch. Spider plant babies, or spiderettes, can take anywhere from a few weeks to a couple of months to root in water. The exact time it takes for rooting can vary depending on various factors, including the health of the spiderette, environmental conditions, and the specific plant’s characteristics. Here are some general guidelines:
- Initial root growth: After placing the spiderette in water, you may start to see small, white root nubs emerging from the base within a week or two. These initial roots indicate that the spiderette has started the rooting process.
- Root development: Over the following weeks, the roots should continue to grow and become longer and more established. It’s common for the roots to reach a few inches in length during this time. However, keep in mind that the rate of root growth can vary.
- Transition to potting soil: Once the roots have grown a substantial length and appear healthy and well-developed, you can consider transitioning the spiderette to potting soil for further growth. At this point, the spiderette should have a sufficient root system to support its growth in soil.
Remember that rooting times can be influenced by factors such as temperature, light levels, and humidity. Providing optimal conditions, such as keeping the water clean and changing it regularly, maintaining moderate room temperature, and placing the spiderette in a well-lit area (but avoiding direct sunlight), can help promote successful rooting.
It’s important to be patient during the rooting process. While some spiderettes may root relatively quickly, others may take longer. Monitor the development of the roots and look for signs of healthy growth to determine when your spiderette is ready for the next stage of propagation or planting in soil.
When Should I plant spider plant babies?
Spring/summer is the ideal growing season for successful spider plant propogation. Furthermore, you should plant spider plant babies, also known as spiderettes, once they have developed a sufficient root system. This ensures that they have the best chance of successful growth when transitioning to soil.
Here are some signs to look for to determine when to plant spider plant babies:
- Established root length: Wait until the spiderette’s roots have grown to a few inches (5-7 cm) in length. Longer roots indicate that the plant has developed a robust root system, which is essential for nutrient uptake and anchoring in the soil.
- Healthy root appearance: Examine the roots of the spiderette to ensure they are healthy and free from rot, discoloration, or damage. Healthy roots are usually white or light-colored and firm to the touch.
- Sturdy and stable growth: The spiderette should exhibit stability when gently tugged or touched. It should be able to support its own weight without toppling over or easily detaching from the parent plant or the water it was rooted in.
- New leaf growth: Look for new leaves sprouting from the center of the spiderette. This indicates that the plant has developed enough root system to support new growth and can be transitioned to soil for further development.
Once you observe these signs, you can proceed with planting the spiderette in potting soil. Choose a well-draining potting mix suitable for houseplants and plant the spiderette at a depth that covers the roots but keeps the foliage above the soil.
Ensure the plant receives adequate light, moderate watering, and appropriate environmental conditions to support its growth and development. As with any plant, monitor its progress and make adjustments to care as needed.
By waiting until the spiderette has established a healthy root system, you provide it with the best conditions for successful growth and development in the soil.
Why Does My Spider Plant Have Brown Tips?
Brown tips on spider plant leaves can be indicative of several potential issues. Here are a few possible reasons for this problem:
- Watering issues: Spider plants are sensitive to water-related problems. If the tips of the leaves turn brown, it could be a sign of overwatering or underwatering. Overwatering can lead to root rot, while underwatering can cause dehydration. Ensure that you maintain a balanced watering routine, allowing the soil to partially dry out between waterings.
- Water quality: Spider plants prefer water with low levels of salt or chlorine. If you’re using tap water that contains high amounts of these substances, it may cause the leaf tips to turn brown. Consider using filtered or distilled water, or let tap water sit out overnight to allow chlorine to dissipate before using it.
- Low humidity: Spider plants appreciate moderate humidity levels. In dry environments or during winter months when indoor heating is prevalent, the air can become too dry for the plant, resulting in brown leaf tips. You can increase humidity around the plant by misting it regularly or placing a tray of water nearby.
- Fertilizer issues: Excessive fertilizer or the use of the wrong type can cause leaf burn in spider plants. Avoid overfertilizing, and make sure to use a balanced, diluted fertilizer specifically formulated for houseplants. Follow the instructions on the fertilizer package for proper application.
- Lighting conditions: While spider plants can tolerate a range of lighting conditions, they prefer bright, indirect light. Insufficient light or prolonged exposure to direct sunlight can lead to brown tips on the leaves. Adjust the plant’s position to provide it with adequate but indirect light.
- Pest infestation: Occasionally, spider plants may encounter pests such as spider mites or mealybugs. These insects can damage the leaves, causing brown or discolored areas. Inspect the plant for any signs of pests and take appropriate measures to eliminate them if detected.
By evaluating these factors and making necessary adjustments, you should be able to address the issue of brown tips on your spider plant and help it regain its health and vitality.