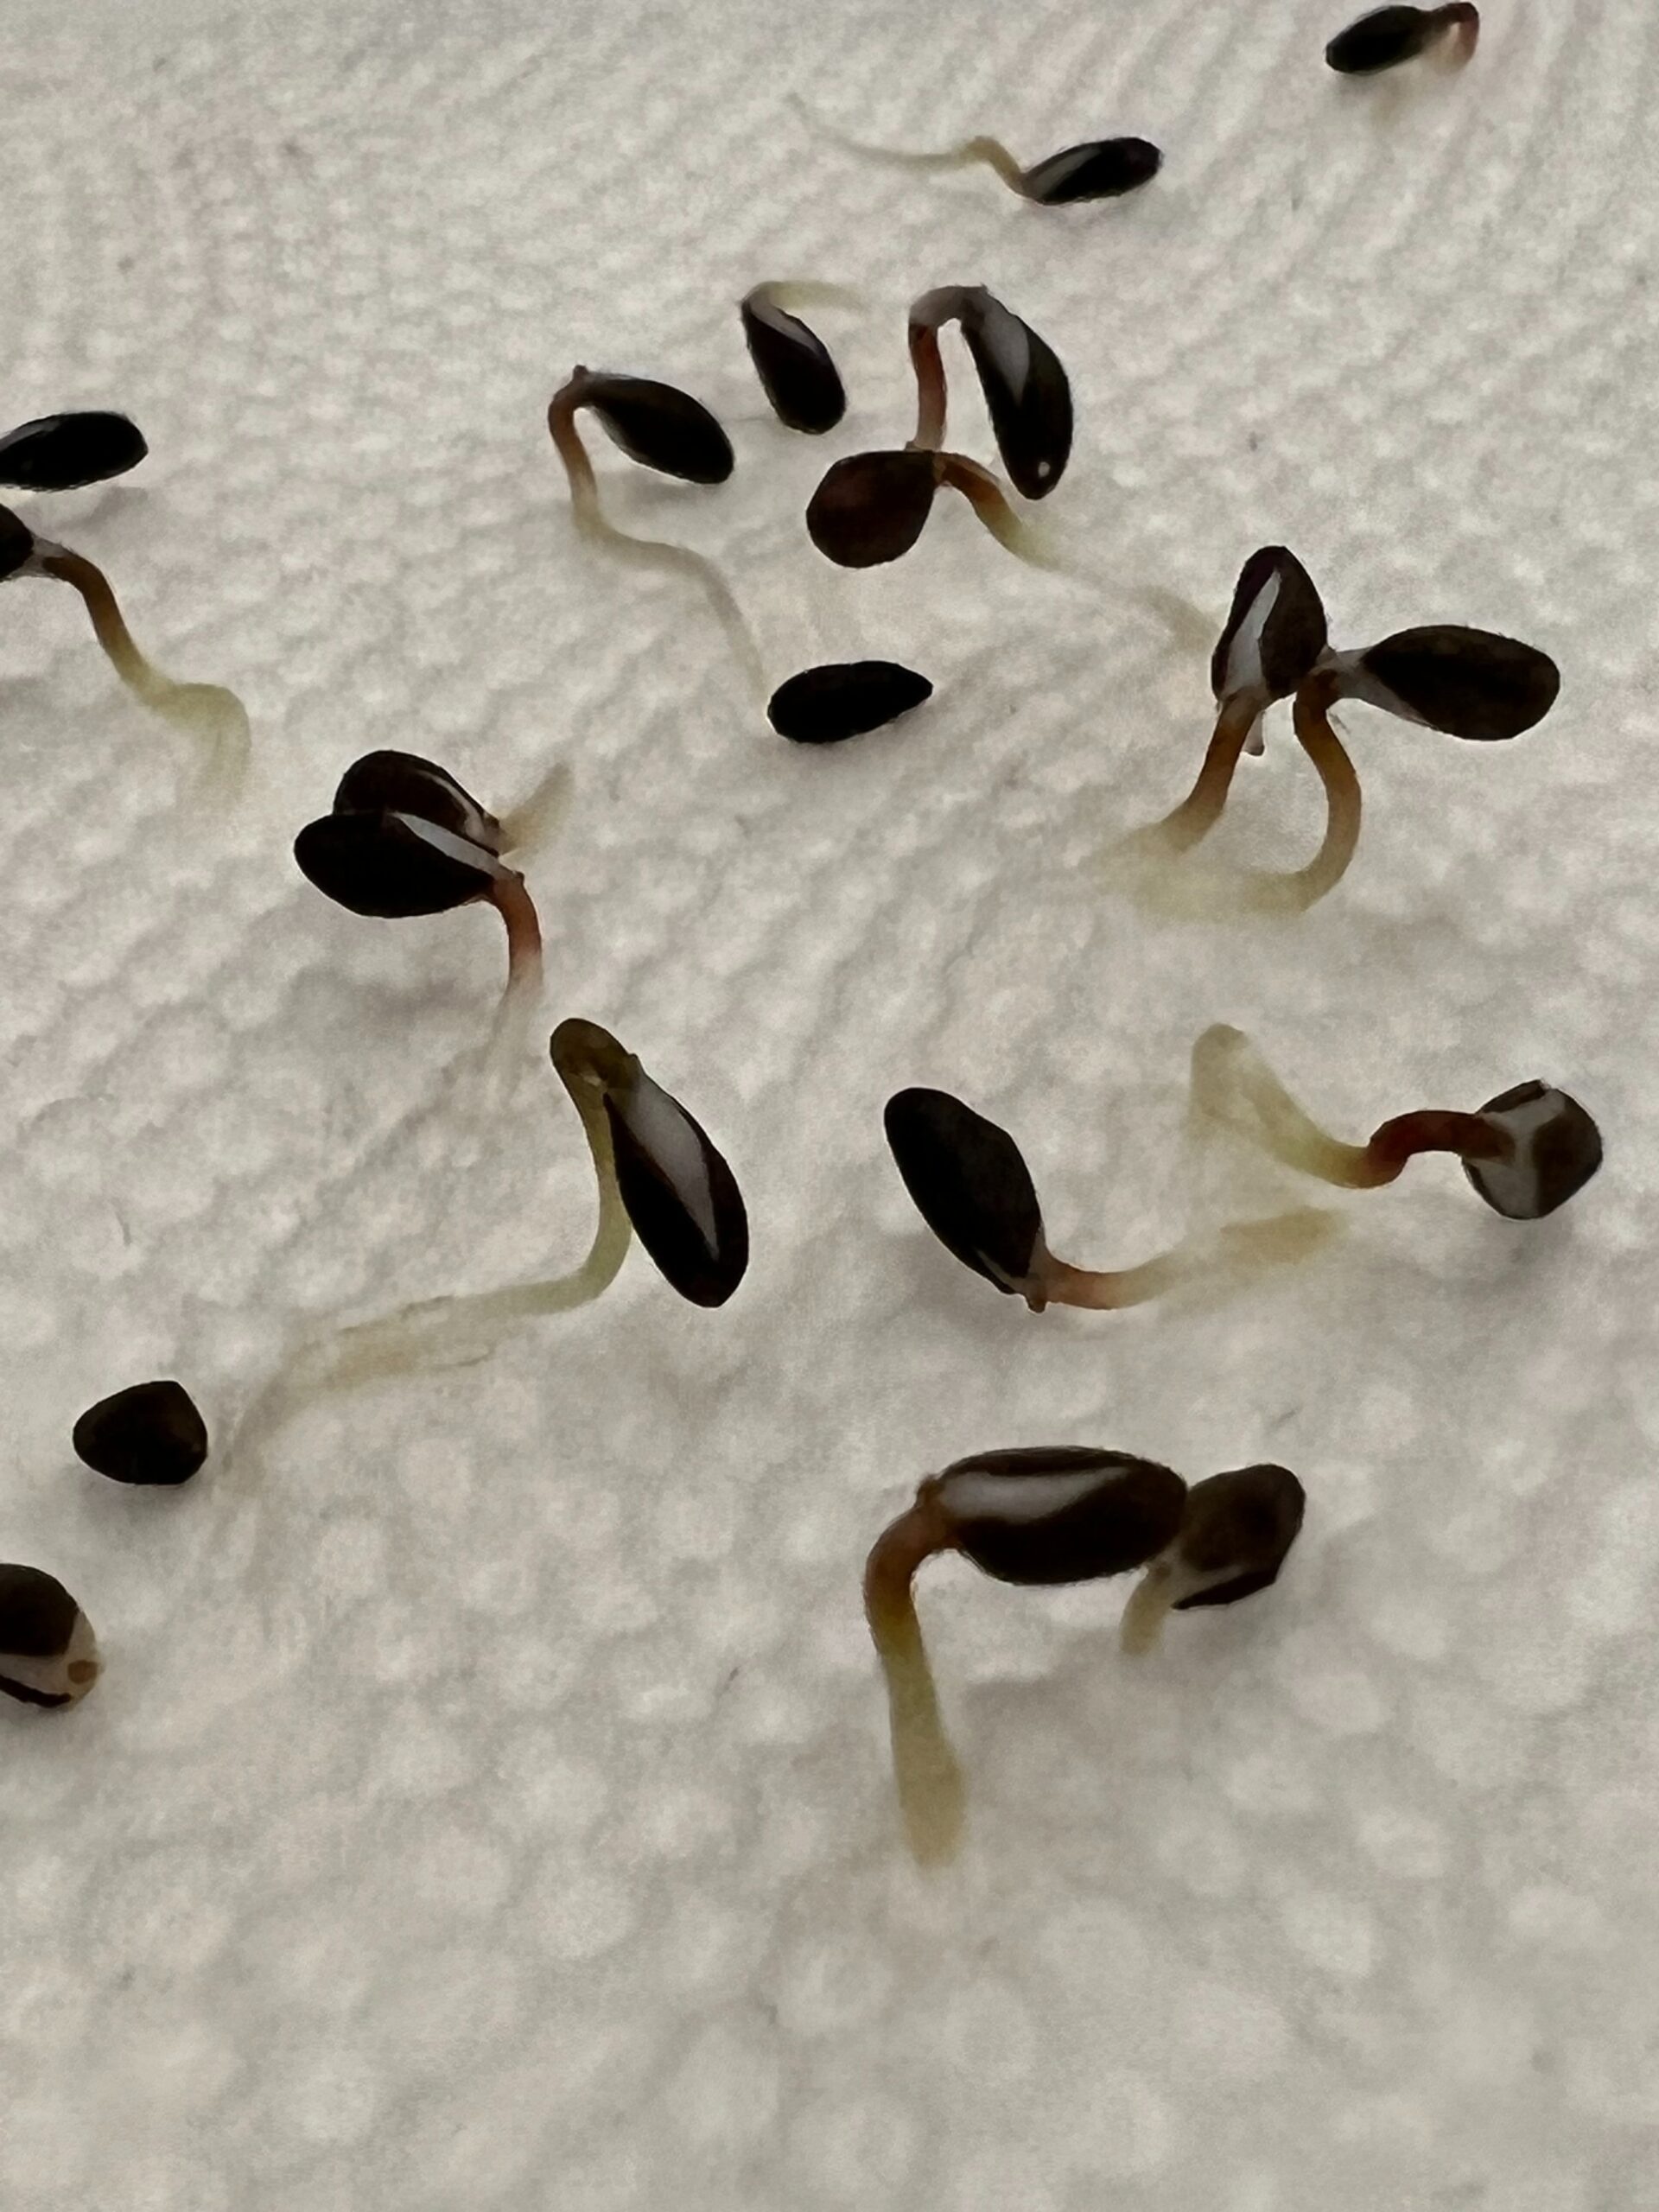
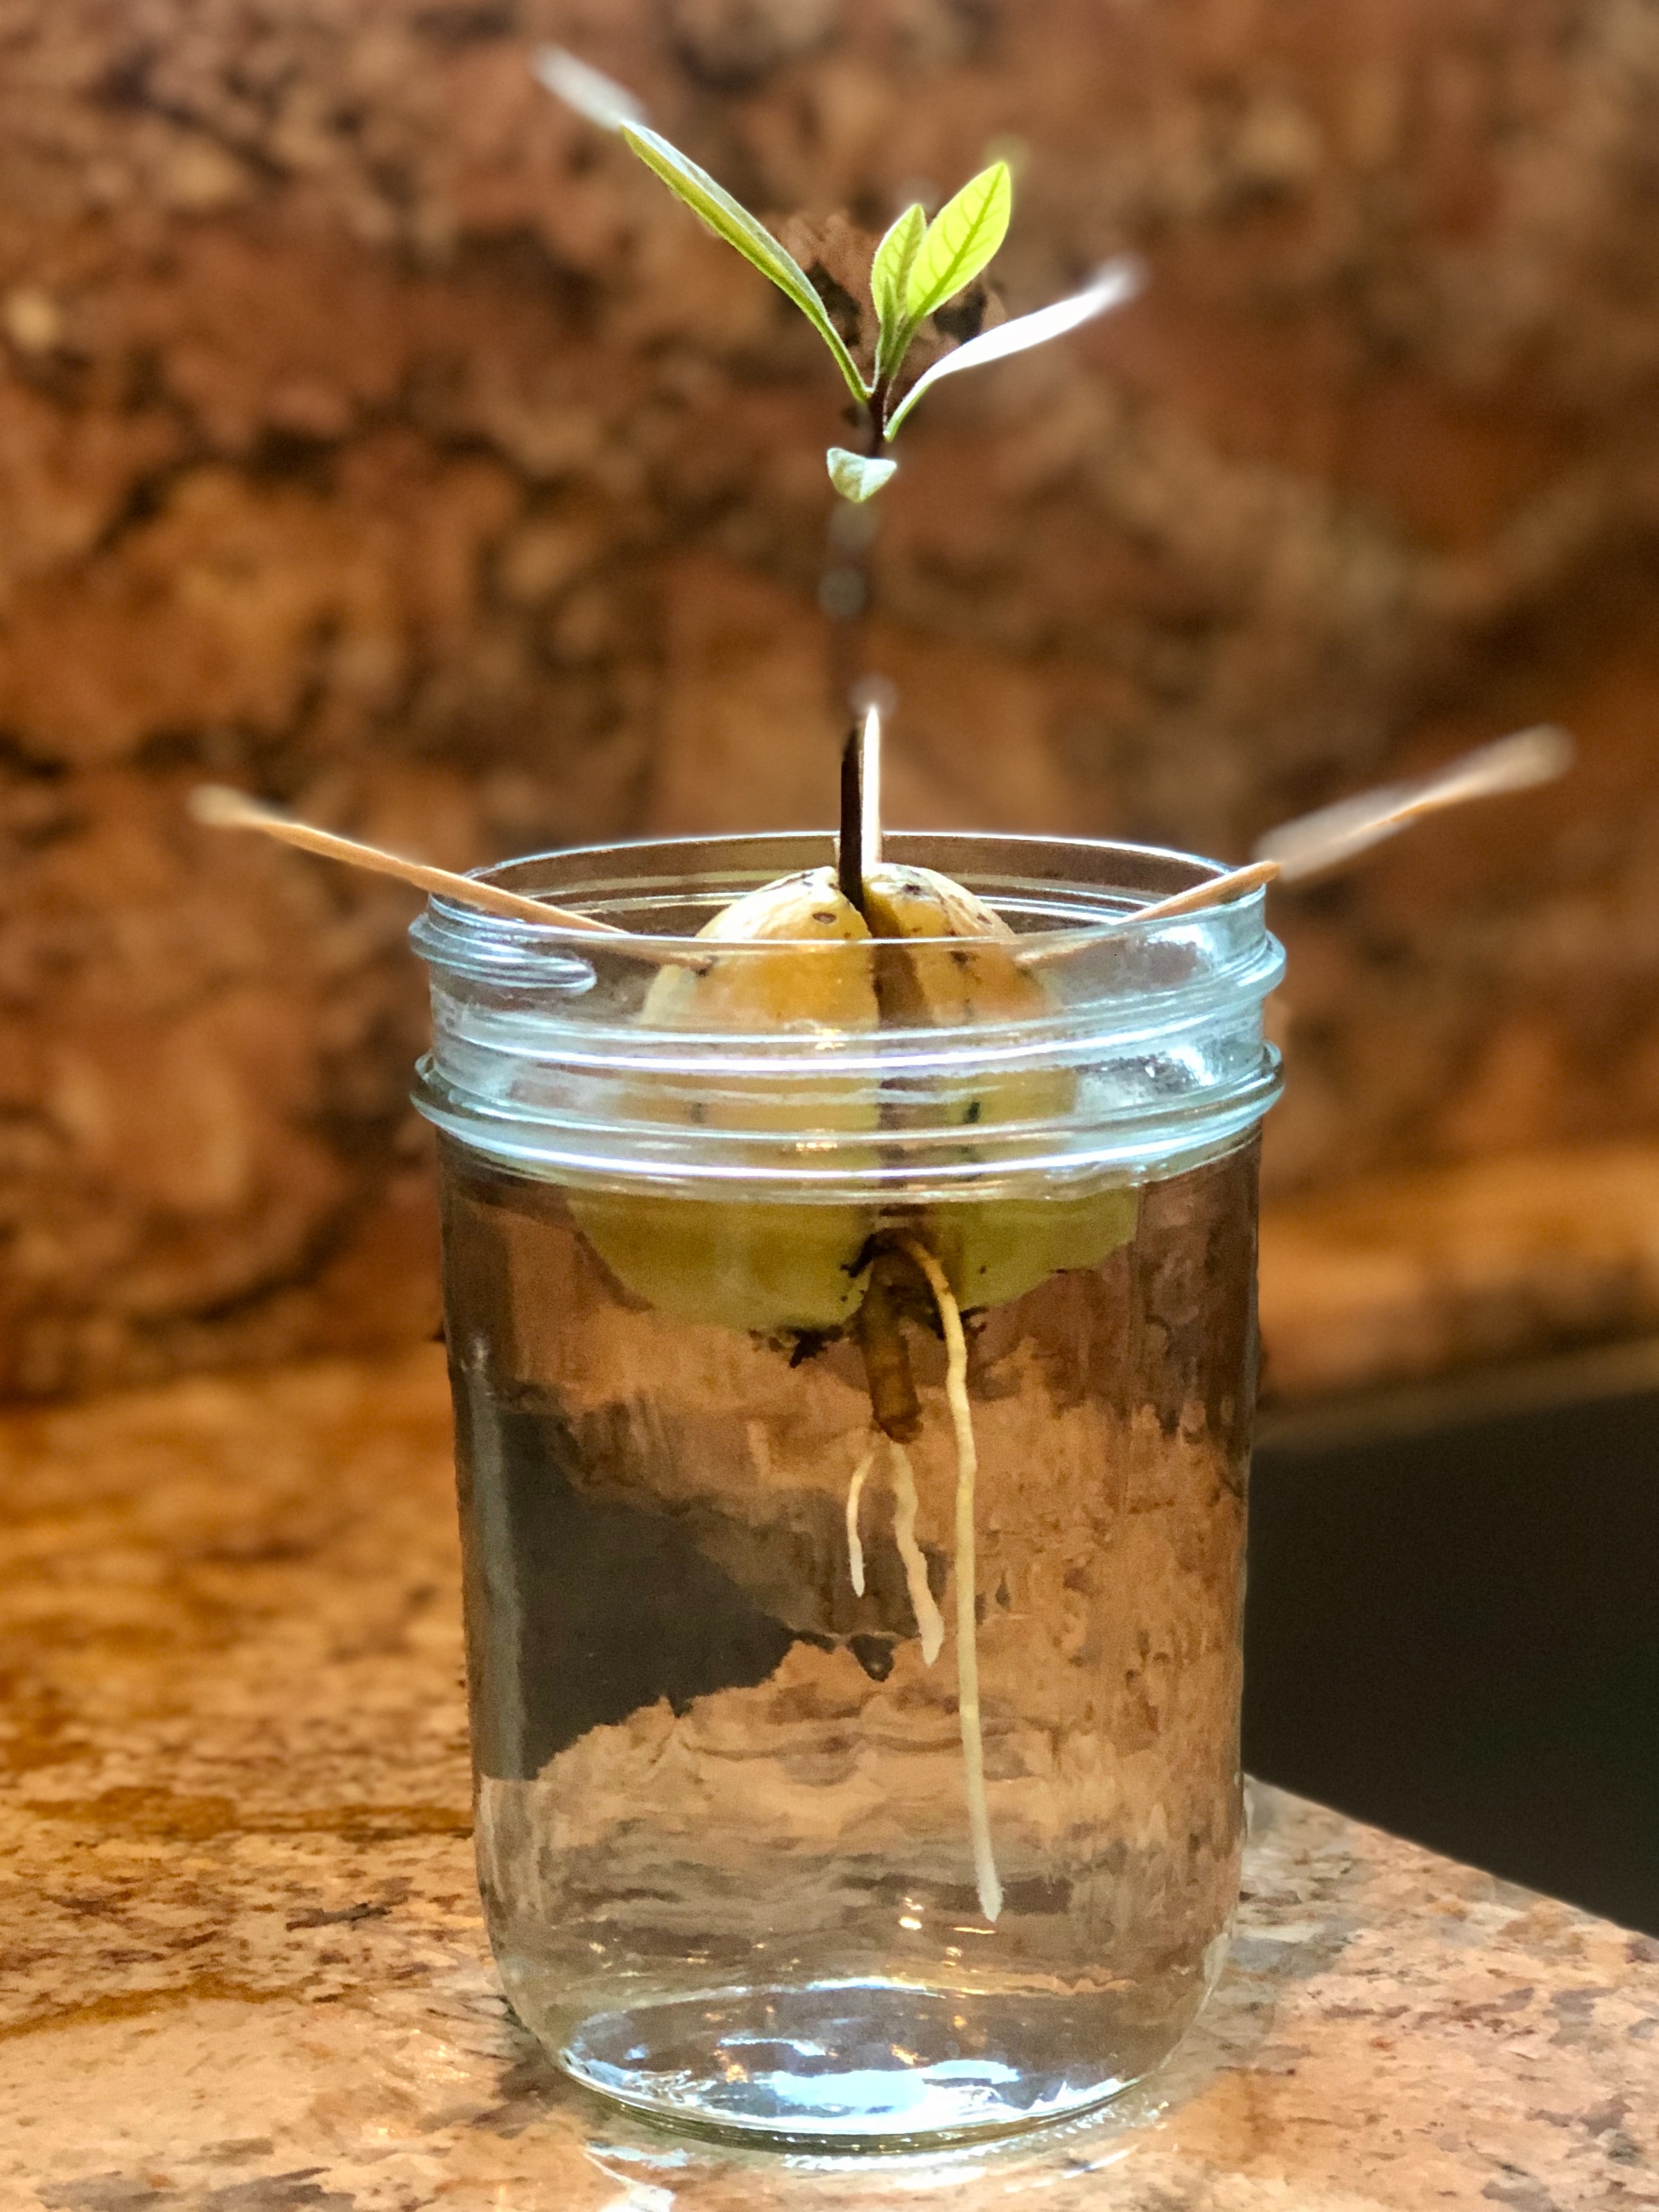
The seed has begun to split apart and you can see a small, white or green worm-like tail sprouting from the middle of the shell. This is the first leaf. Germination is the process by which a seed begins to grow and develop into a new plant. It is the first stage of a plant’s life cycle. Germination occurs when a seed, under suitable environmental conditions, absorbs water and undergoes metabolic changes that trigger the growth of a new plant embryo.
To determine if your seeds are germinating, you can follow these steps:
Read the seed packet: Different types of seeds have different germination times. The seed packet typically provides information on the expected germination period. This can give you a general idea of when to expect germination.
- Check for swelling and softening: Before germination, seeds often absorb water and swell. Depending on the seed, you may notice an increase in size or a softening of the seed coat.
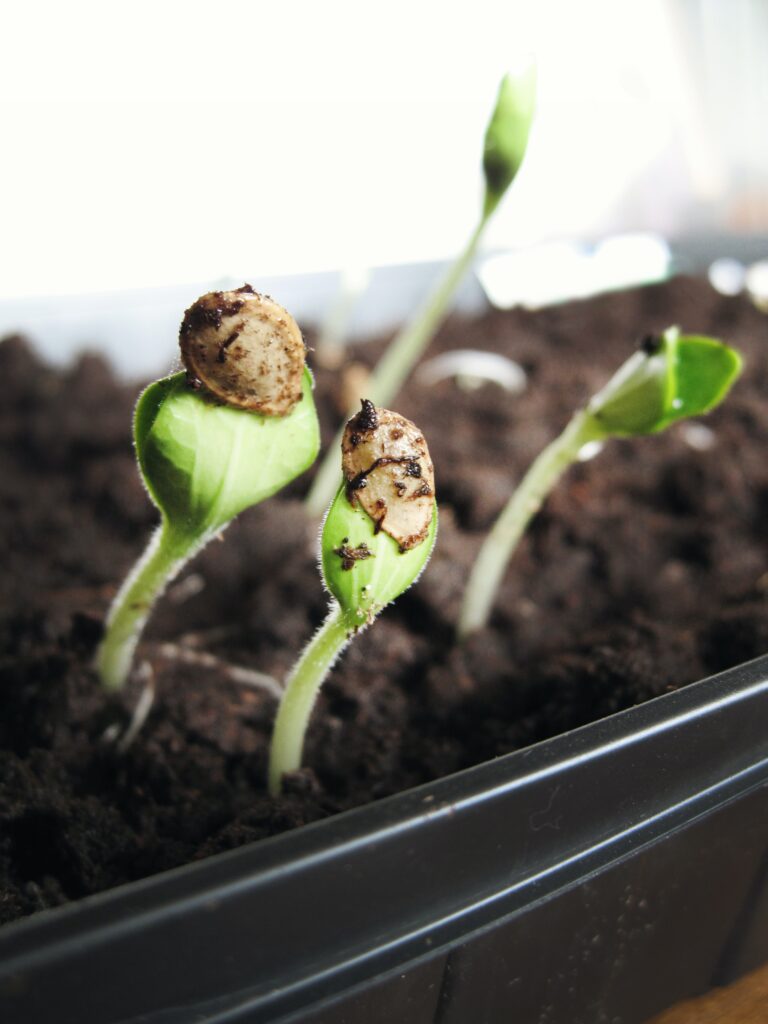
- Look for sprouts: Germination is characterized by the emergence of a tiny sprout from the seed. As the seed coat splits, the initial roots (radicle) and/or the first leaves (cotyledons) appear above the soil surface. Check the planting medium regularly to see if any sprouts have emerged.
- Monitor soil moisture: Proper moisture is crucial for seed germination. Ensure that the soil or planting medium remains consistently moist but not overly saturated. Excessive moisture can lead to rot, while dry conditions may hinder germination.
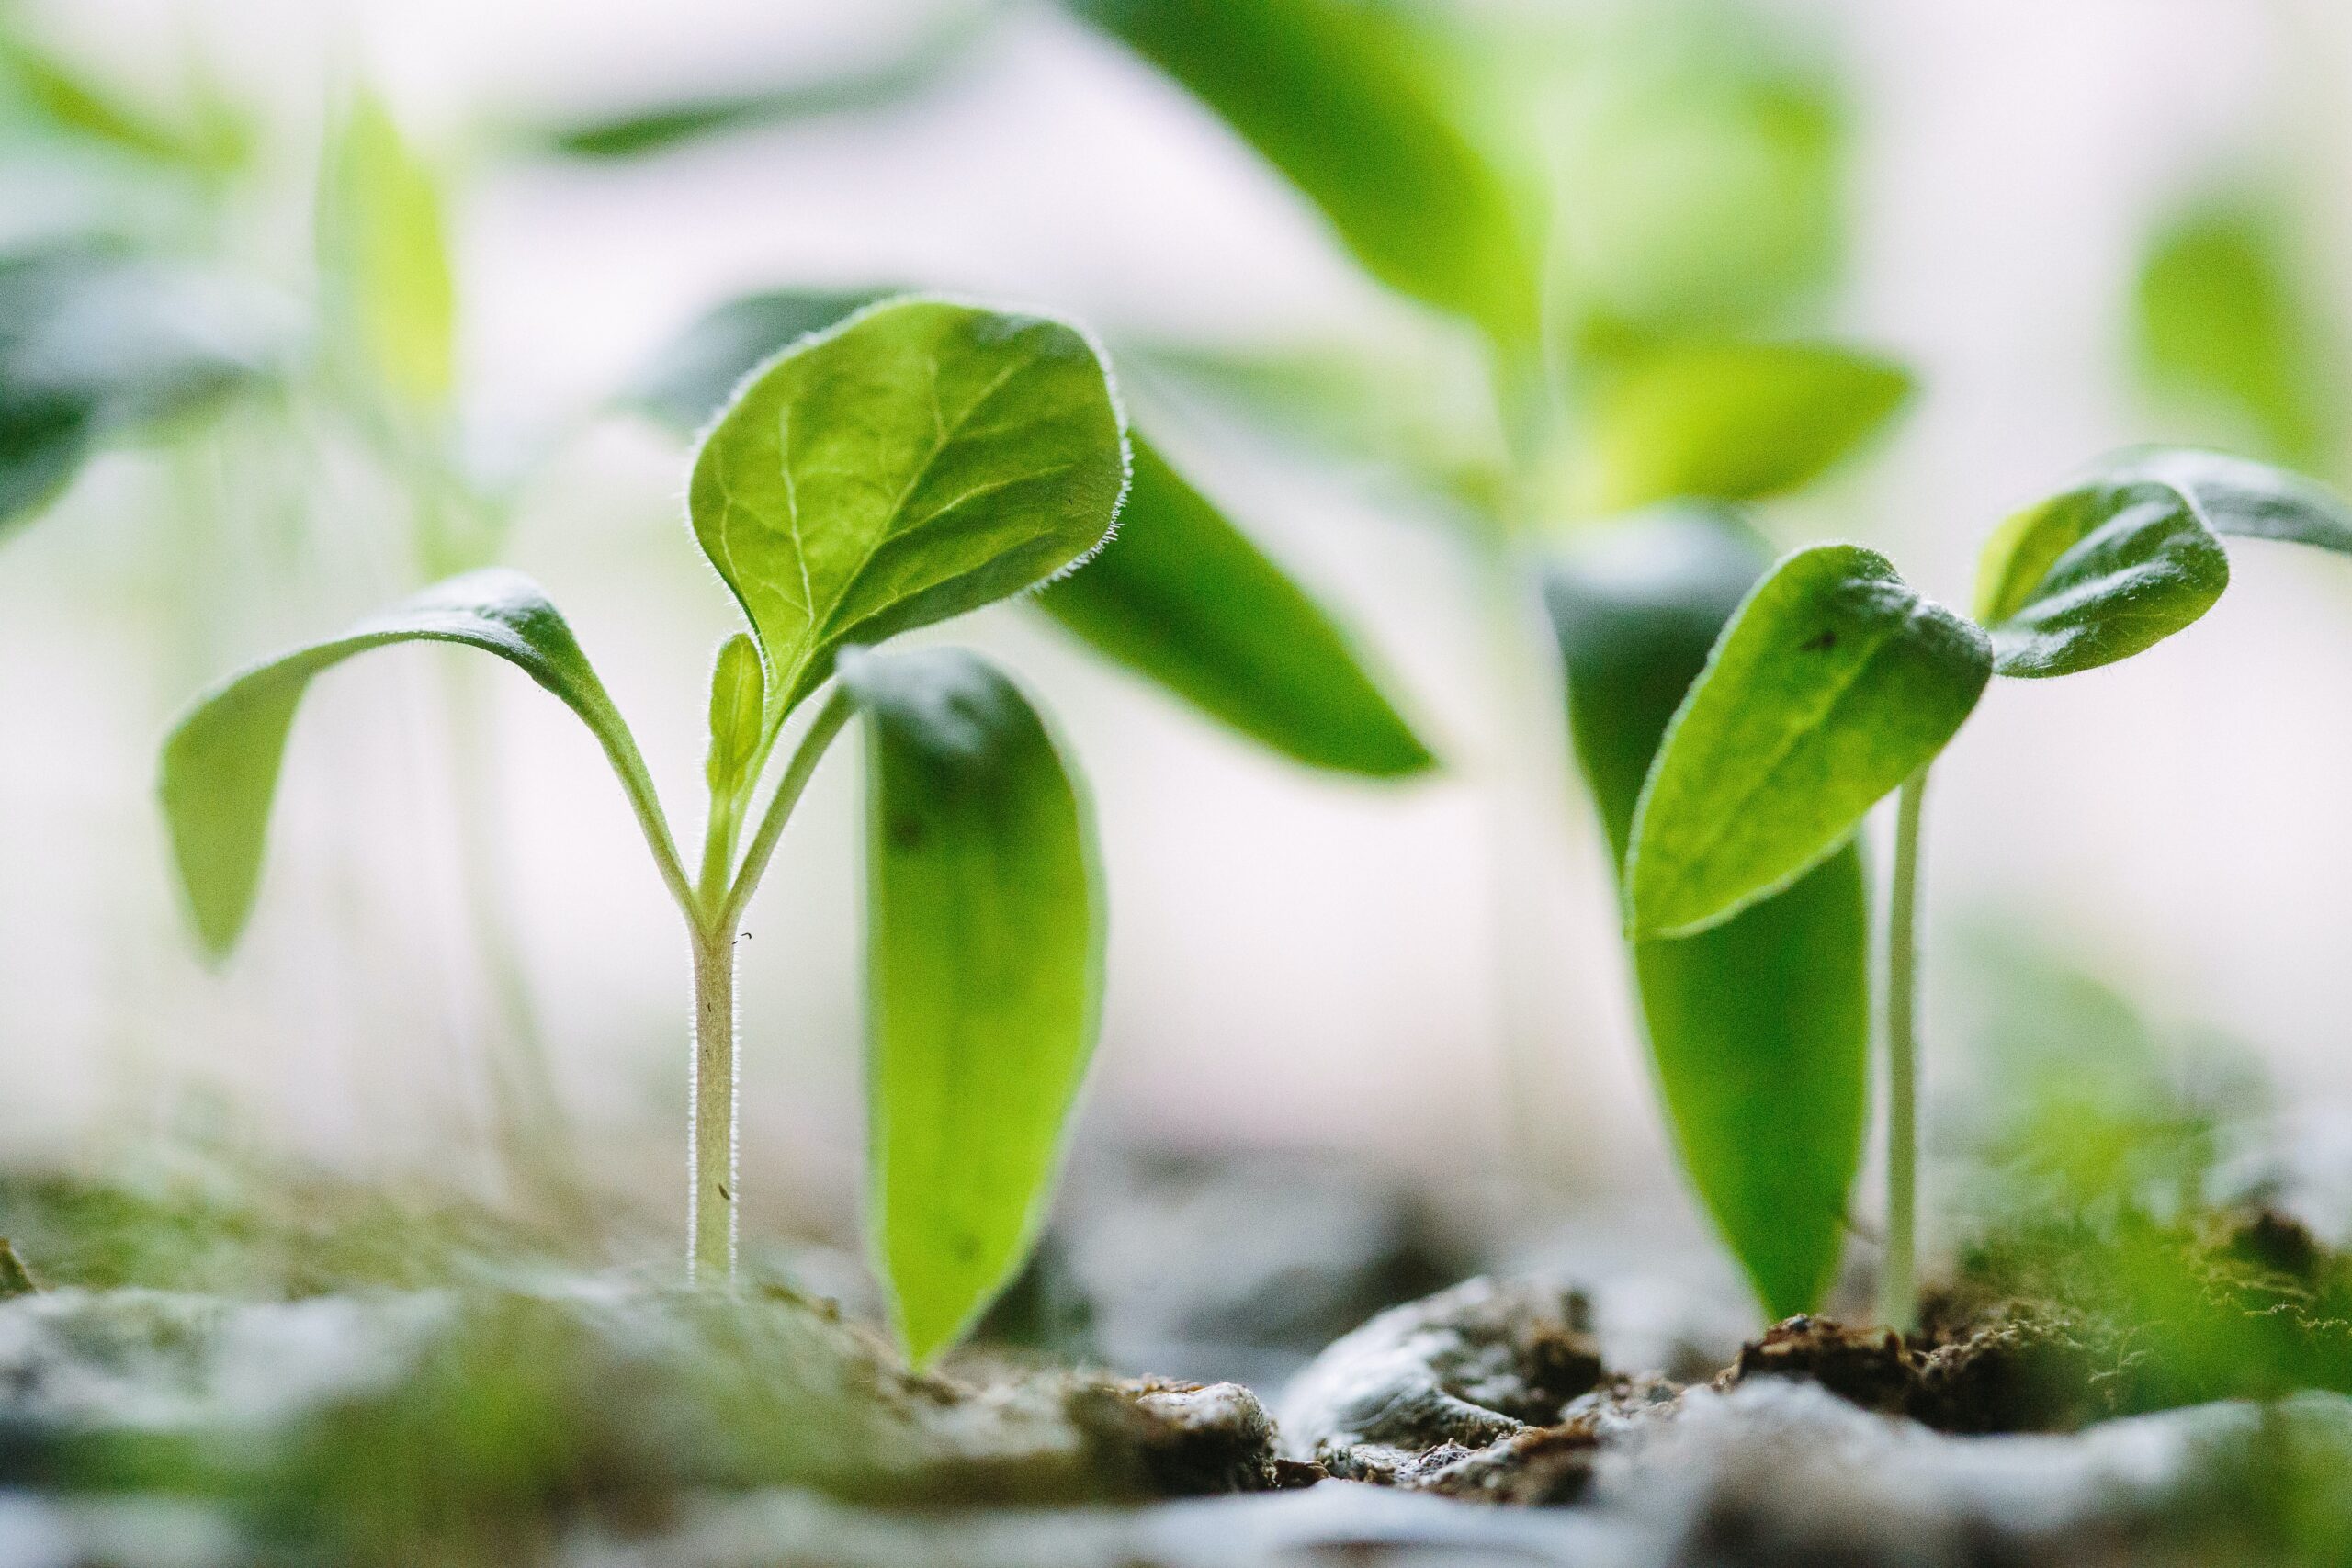
- Observe seedlings: Once the sprouts emerge, they will continue to grow into seedlings. You should see the development of leaves and root systems. Healthy seedlings will exhibit vibrant green coloration and robust growth.
- Time lapse: Depending on the type of seed, germination can take anywhere from a few days to several weeks. Patience is key. Monitor your seeds regularly, and if they have not germinated within the expected timeframe, it’s possible they may require more time or have encountered unfavorable conditions.
How to tell if your seeds are viable
Determining the viability of seeds, or whether they are capable of germination and producing healthy plants, is important to ensure successful planting. Here are some methods to assess seed viability:
- Seed age: Generally, the fresher the seed, the higher the chances of viability. Seeds that have been stored for a long time may have reduced viability. Check the packaging or seed packet for the date of harvest or expiration.
- Seed size and weight: Healthy and viable seeds often have a plump appearance and feel heavier compared to non-viable or damaged seeds. If the seeds appear shrunken, shriveled, or unusually lightweight, they may be less likely to germinate.
- Visual inspection: Examine the seeds for any signs of damage, such as cracks, holes, or mold. Damaged seeds are less likely to be viable.
- Germination test: Conducting a germination test is a reliable way to assess seed viability. Here’s a simple method: Moisten a paper towel or a piece of filter paper with water, ensuring it is damp but not soaking wet. Place a certain number of seeds on the moistened paper towel. Fold or roll the paper towel, enclosing the seeds within it. Keep the paper towel in a warm and suitable environment for germination, such as a plastic bag or a covered container. Check the seeds regularly over a specific period (usually 7 to 10 days) to observe germination. Count the number of seeds that have sprouted to calculate the germination percentage. A high germination percentage indicates good seed viability, while a low percentage suggests poor viability or seed dormancy.
- Float test: This method is primarily used for larger seeds, such as those of beans or peas, to assess their viability: Fill a container with water. Place the seeds in the water and observe their behavior. Viable seeds usually sink to the bottom of the container, while non-viable seeds may float or remain suspended in the water.
It’s important to note that germination rates can vary depending on the plant species. Some seeds may have naturally low germination rates, while others may require specific conditions or treatments to enhance viability.
By employing these methods, you can gain a better understanding of the viability of your seeds and make informed decisions about which seeds to plant and how to maximize your chances of successful germination.
How long do I wait to plant germinated seeds?
Once your seeds have germinated, it’s important to transplant them into their growing medium or soil promptly. The timing of when to plant germinated seeds can vary depending on the specific plant species and the environmental conditions. Here are some general guidelines:
- Seedling development: Allow the germinated seeds to develop into healthy seedlings before transplanting them. This typically involves waiting for the emergence of true leaves, which are the second set of leaves that appear after the initial cotyledons. True leaves indicate that the seedling is actively photosynthesizing and establishing itself.
- Size and vigor: Look for signs of robust growth and sufficient size. The seedlings should have developed a strong root system and sturdy stems. Avoid transplanting them when they are too small or fragile, as they may struggle to adapt to the new environment.
- Weather conditions: Consider the outdoor weather conditions when deciding when to plant your seedlings. Transplanting them during extreme weather, such as freezing temperatures or excessive heat, can stress or damage the seedlings. Aim for a time when the weather is more favorable for the specific plant species you are growing.
- Hardening off: Before transplanting your germinated seedlings directly into the garden or outdoor containers, it’s often beneficial to acclimate them gradually to outdoor conditions. This process is known as hardening off. Gradually expose the seedlings to outdoor conditions over a period of 7 to 10 days, starting with a few hours of exposure and gradually increasing the duration. This helps the seedlings adjust to changes in temperature, sunlight intensity, and wind.
- Follow plant-specific guidelines: Some plant species may have specific recommendations for transplanting timing based on their growth habits, frost sensitivity, or specific requirements. Consult plant-specific resources, such as seed packets or gardening guides, for any specific instructions.
By considering these factors, you can determine the appropriate time to transplant your germinated seeds and give them the best chance of successful growth and establishment in their new growing environment.
How do I plant germinated seeds?
Planting germinated seeds is a straightforward process. Here are the general steps to follow:
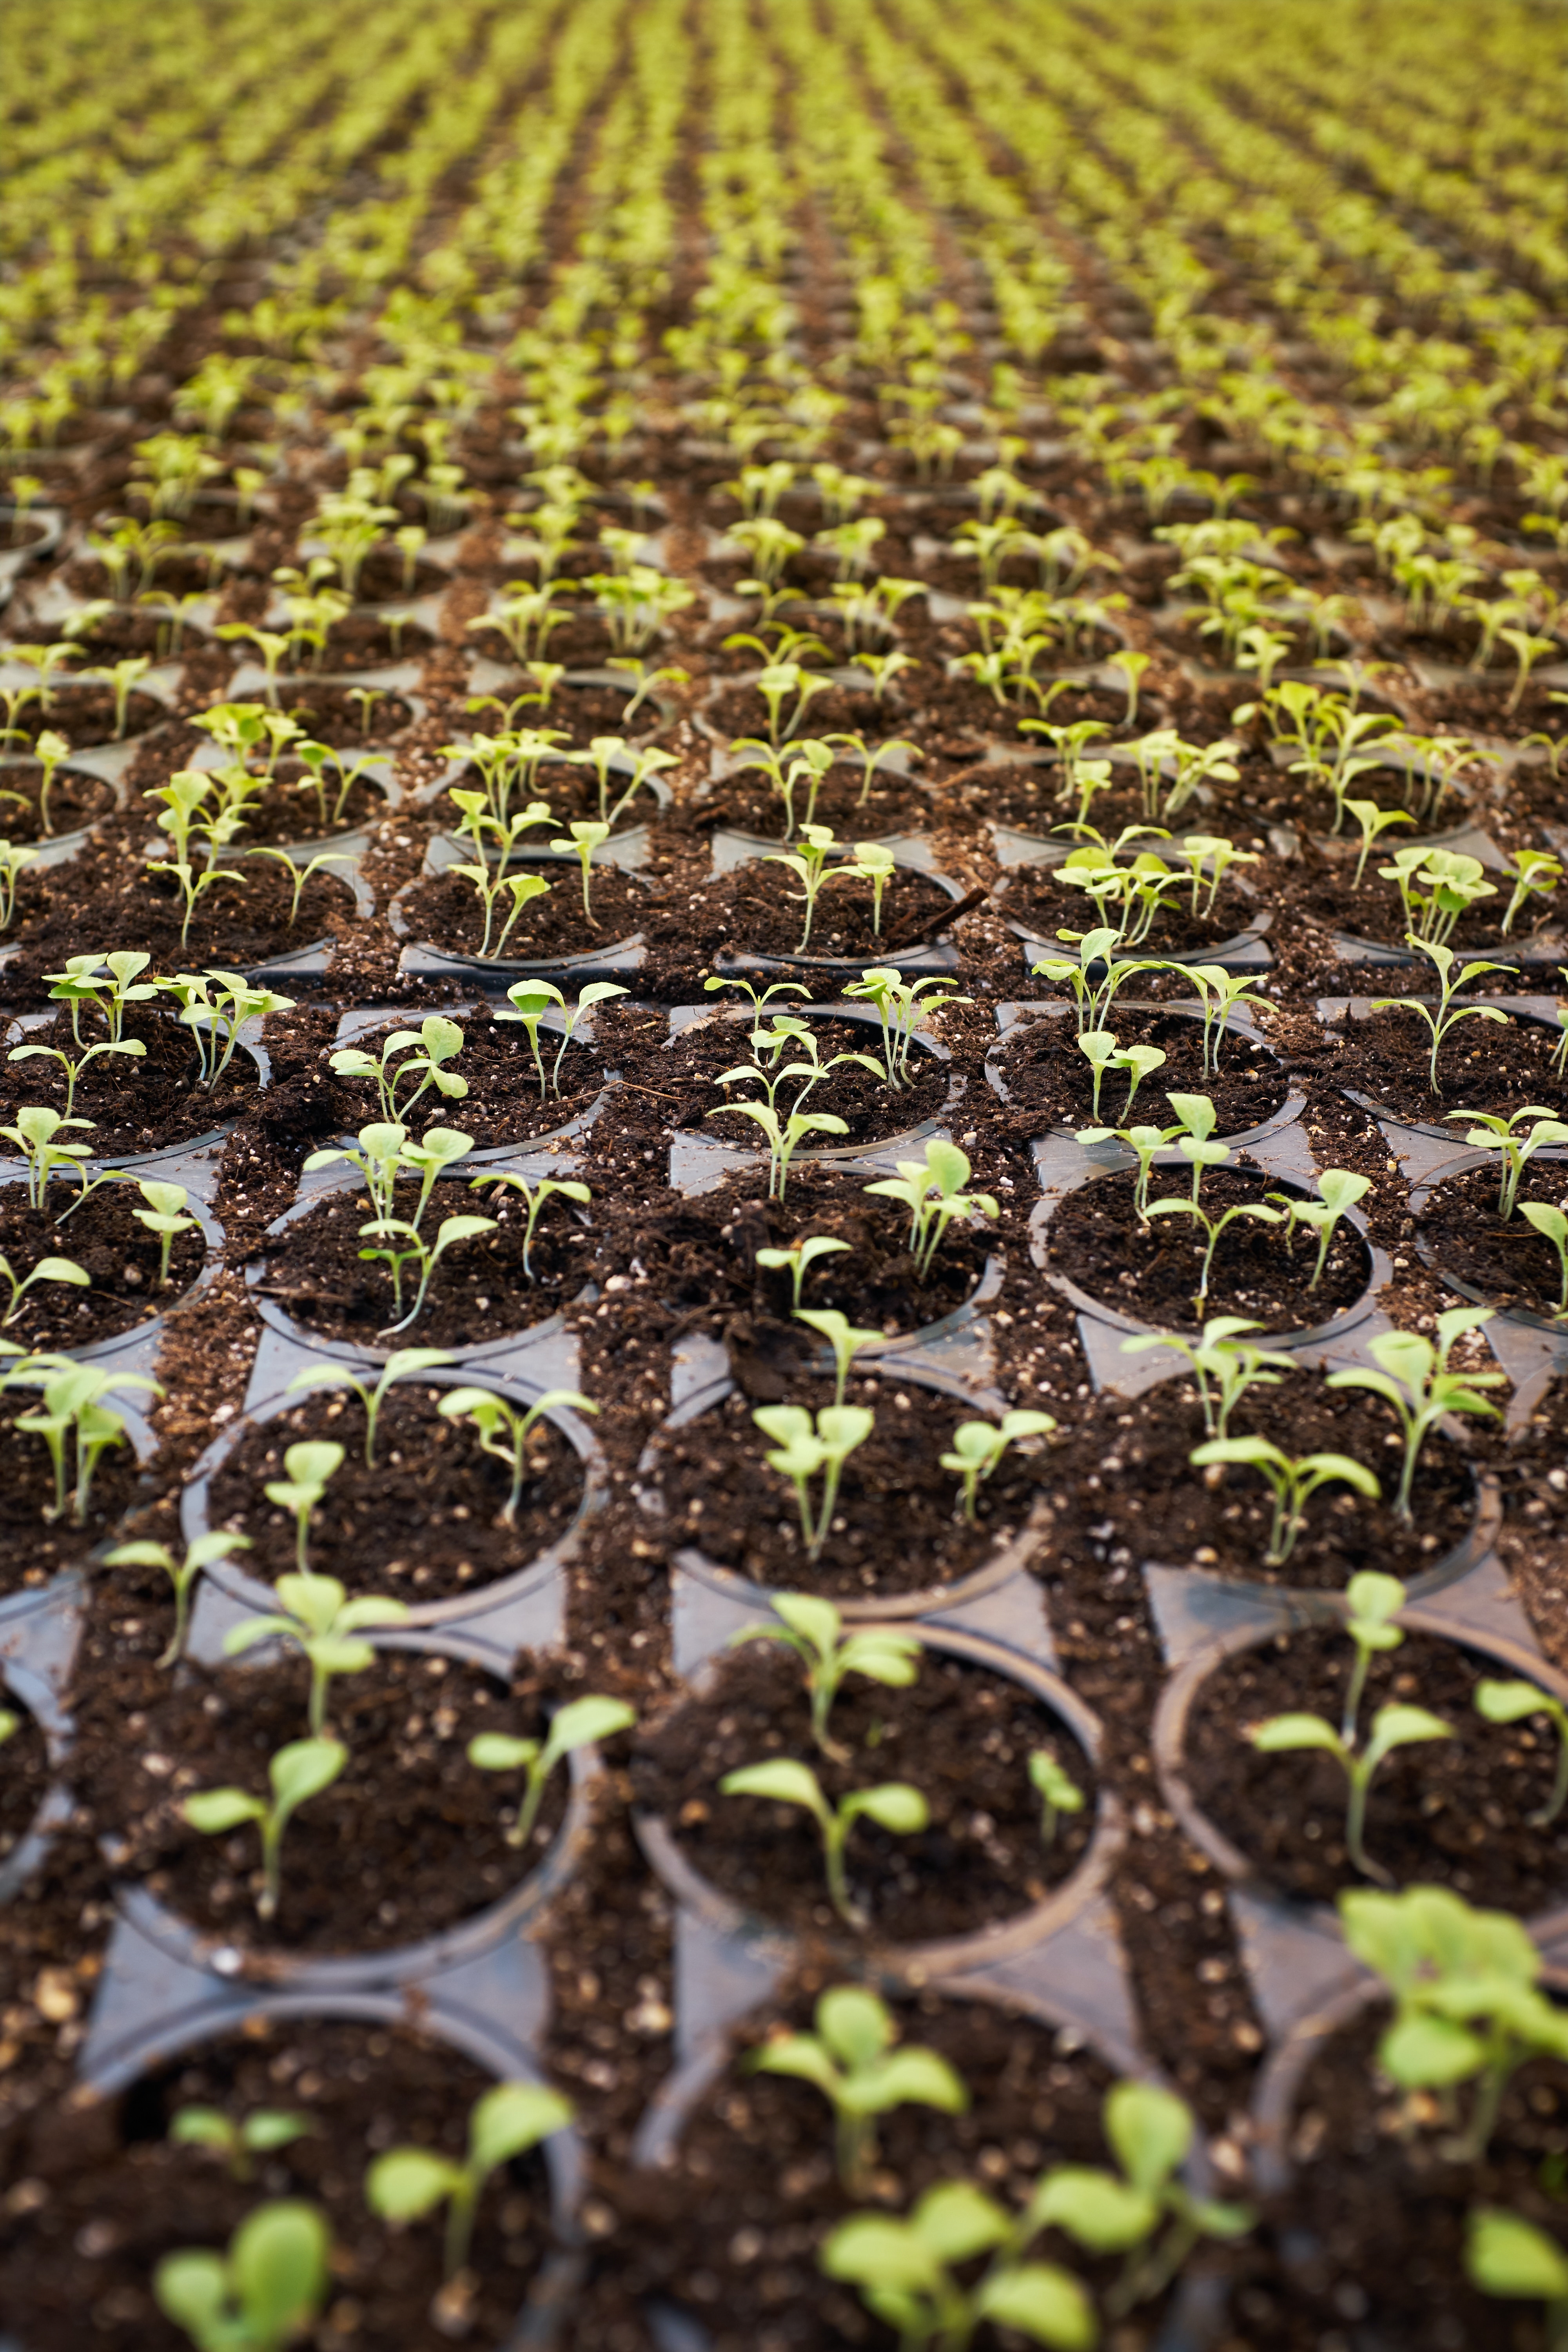
- Prepare the planting containers: Choose suitable containers such as seed trays, pots, or seedling trays with drainage holes at the bottom. Clean them thoroughly and fill them with a good quality potting mix. Moisten the potting mix, ensuring it is damp but not waterlogged.
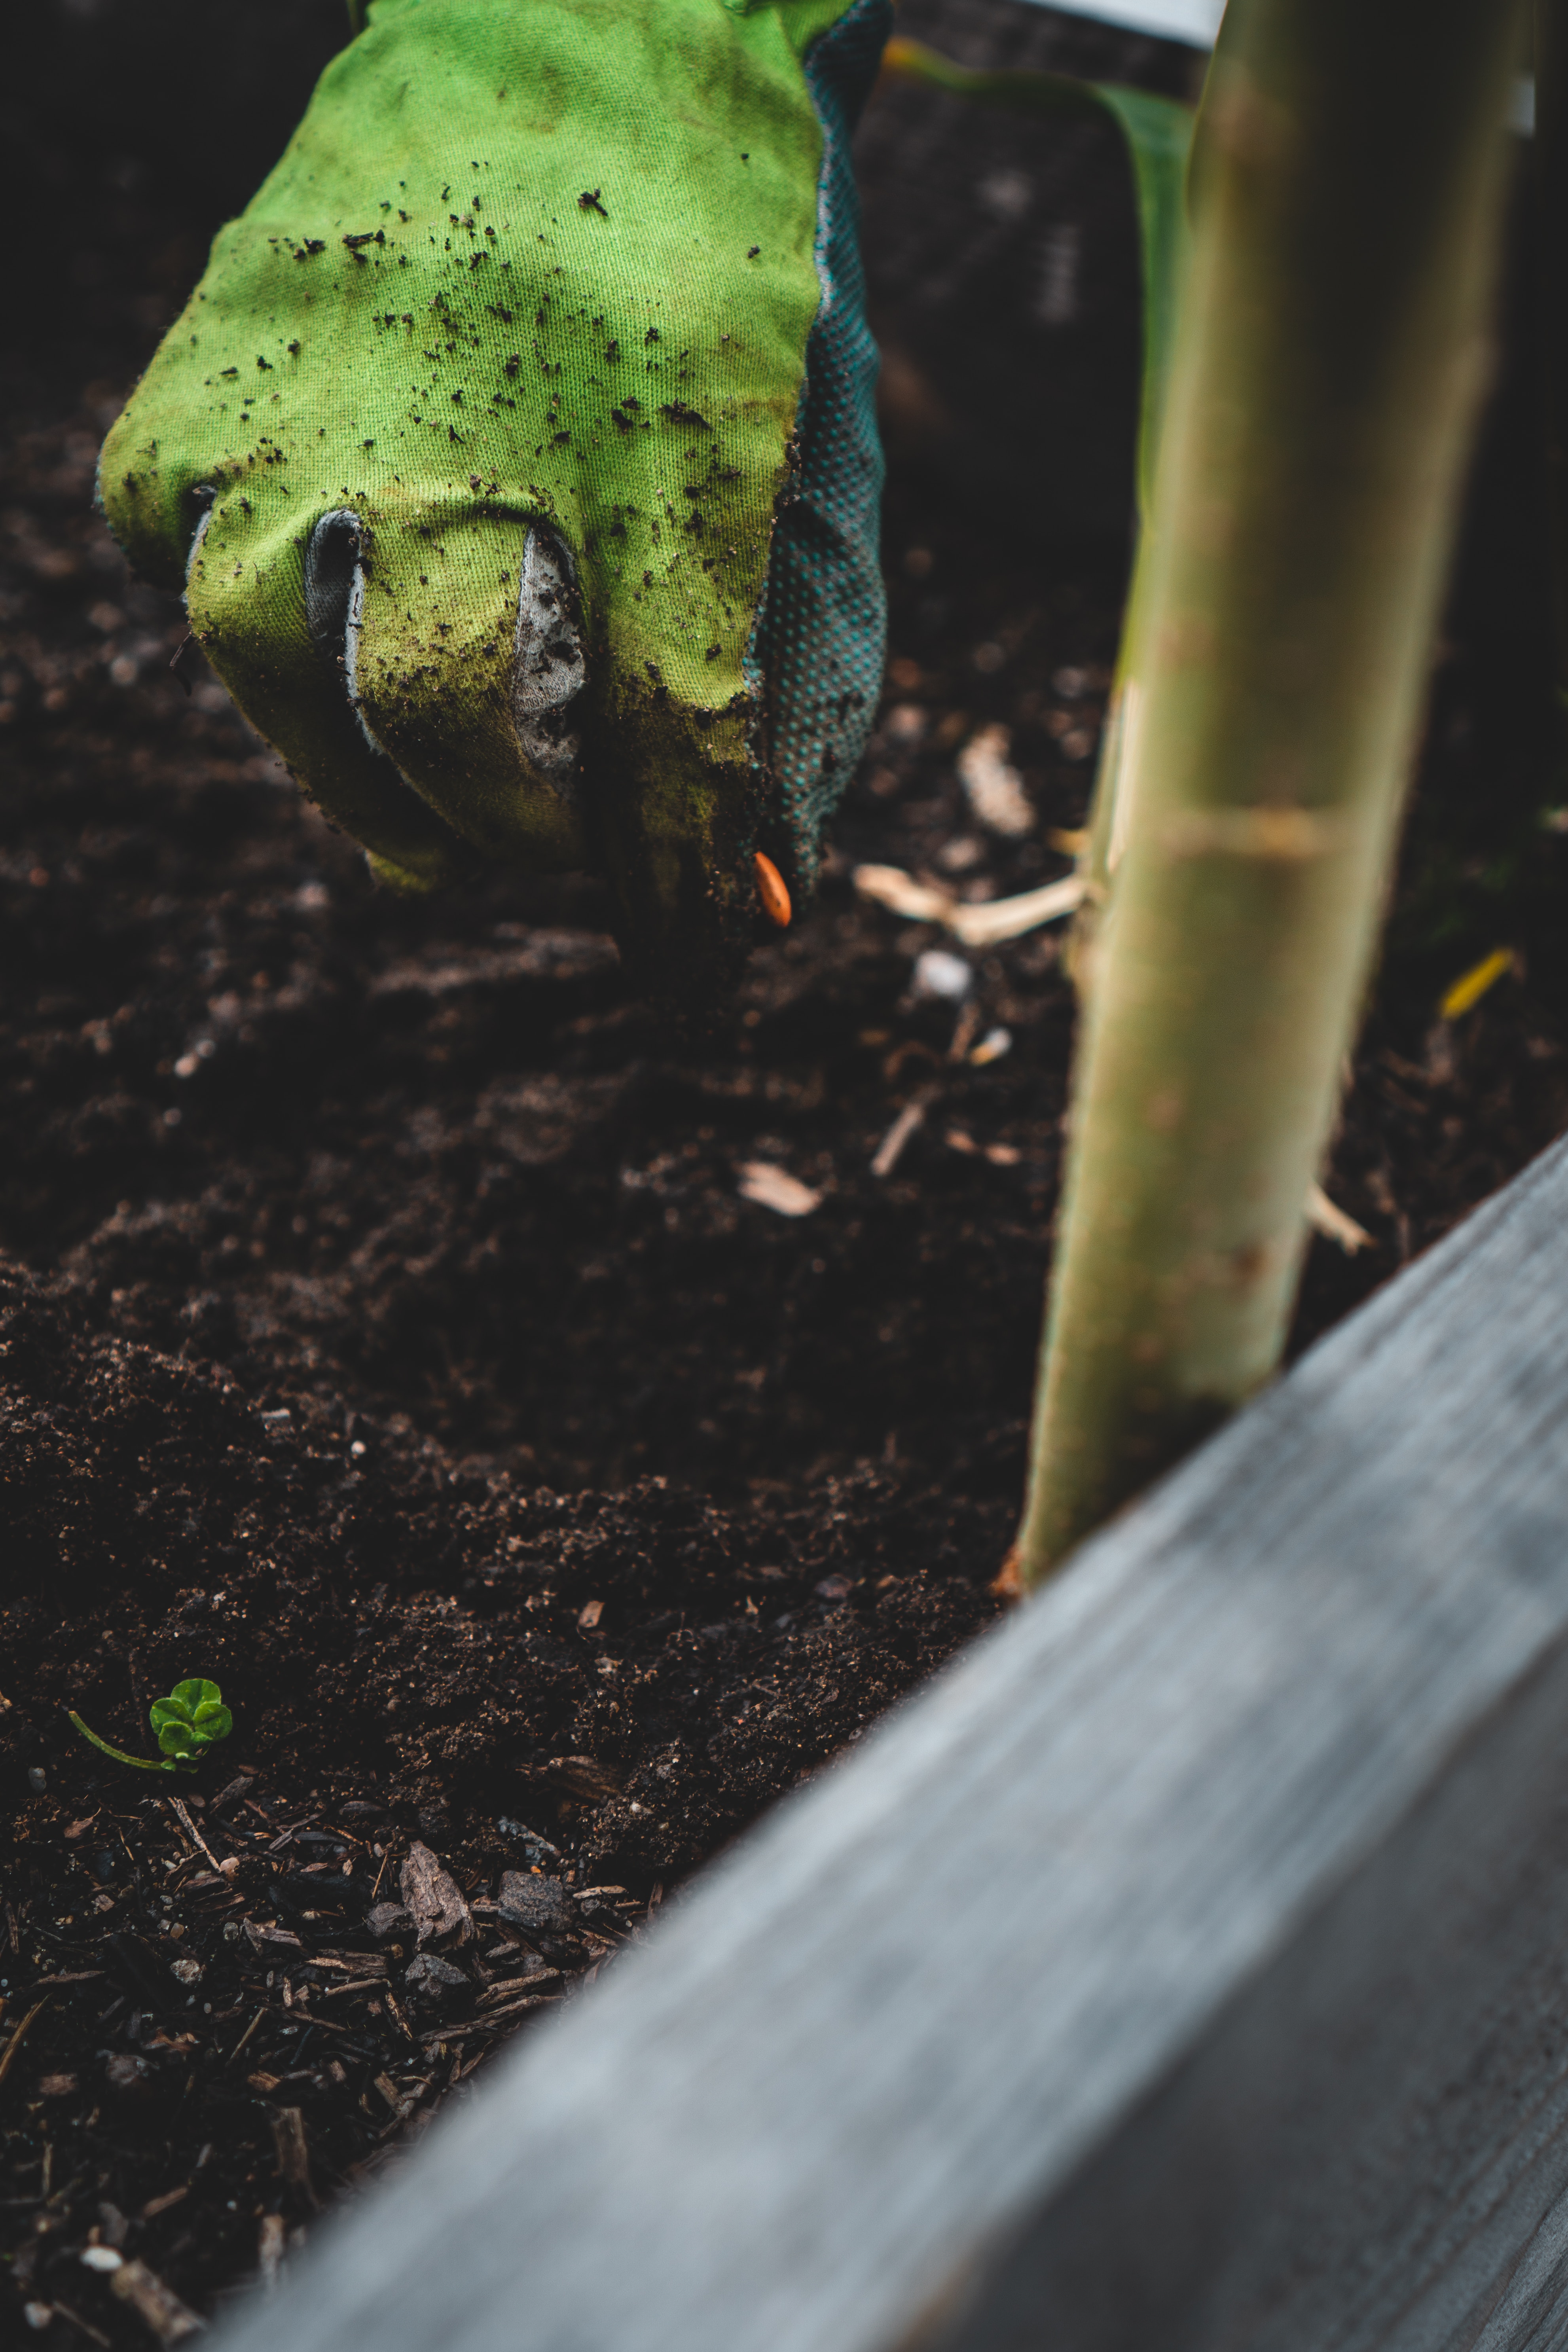
- Create holes: Use your finger or a small tool to create shallow holes in the potting mix. The depth of the holes should be approximately twice the size of the seed’s diameter.
- Transfer the germinated seeds: Gently handle the germinated seeds to avoid damaging the delicate roots and shoots. Carefully place each seed into the prepared holes, making sure the roots are facing downwards and the shoots are pointing upwards. Space the seeds according to the recommended planting distance for the specific plant species.
- Cover the seeds: Once the seeds are placed in the holes, cover them with a thin layer of potting mix or vermiculite. The layer should be just enough to lightly cover the seeds, ensuring they are not buried too deep.
- Provide appropriate conditions: Place the containers in a suitable location that meets the requirements of the specific plant species. Most plants prefer a warm and well-lit area, but some may have specific light or temperature preferences. Ensure the seeds receive adequate sunlight or provide artificial light if needed.
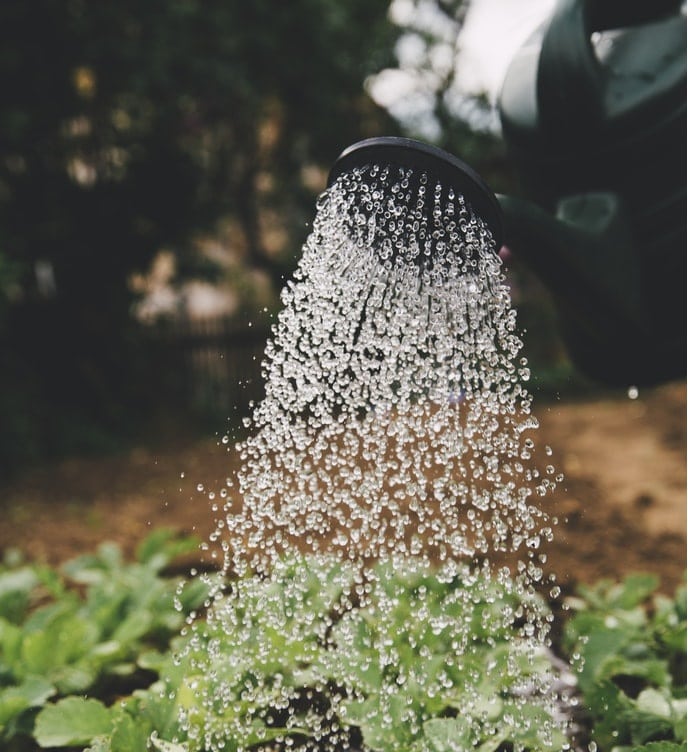
- Water and maintain moisture: After planting, water the containers gently using a watering can or spray bottle. Aim to keep the potting mix consistently moist but not soaked. Avoid overwatering, as it can lead to root rot and other problems. Monitor the moisture levels regularly and adjust watering accordingly.
- Nurture the seedlings: As the seeds germinate and seedlings emerge, continue to provide appropriate care. Maintain suitable lighting, temperature, and moisture levels. Some seedlings may require thinning to ensure proper spacing and optimal growth. Follow the specific care instructions for the plant species you are growing.
- Transplanting: Once the seedlings have developed a few sets of true leaves and have grown stronger, they can be transplanted into larger containers or directly into the garden, depending on the plant’s requirements.
Remember to refer to specific guidelines for the plant species you are growing, as different plants may have unique requirements. Happy gardening!
How far apart can I plant germinated seeds?
The spacing requirements for planting germinated seeds can vary depending on the specific plant species. It’s essential to consider the mature size of the plants and their growth habits to determine the appropriate distance between them. Here are some general guidelines:
- Vegetable and herb seeds: Most vegetable and herb seeds require adequate spacing to allow proper growth and airflow. As a general rule, you can space germinated seeds around 6 inches to 2 feet apart, depending on the plant’s size. For larger plants like tomatoes or peppers, provide more space, while smaller plants like lettuce or herbs can be spaced closer together.
- Flower seeds: The spacing requirements for flower seeds can vary widely, depending on the plant species and the desired aesthetic effect. Some flowers require dense planting for a full and lush display, while others need more space for their mature size. Consult the seed packet or specific plant information to determine the recommended spacing for the particular flower seeds you are planting.
- Tree and shrub seeds: If you are planting tree or shrub seeds, they will eventually grow into larger plants. It is crucial to provide sufficient space for their mature size. Space the germinated seeds according to the guidelines specific to the tree or shrub species you are growing. This information is usually available from horticultural resources or nurseries.
- Climbing plants: Climbing plants such as beans, peas, or certain vines require support structures such as trellises or stakes. Plant the germinated seeds at an appropriate distance from the support structure to ensure they have enough room to climb and spread out.
Remember that these are general guidelines, and it’s always beneficial to refer to plant-specific instructions for optimal spacing. Additionally, consider factors such as sunlight availability, air circulation, and the nutrient requirements of the plants when deciding on spacing.
Should I put germinated seeds in water?
Once the seeds have germinated and you see the emergence of roots and shoots, it is generally not necessary to keep them in water. Germinated seeds are typically ready to be planted in a suitable growing medium such as soil or a potting mix. However, there are a few scenarios where soaking germinated seeds in water can be beneficial:
- Pre-soaking seeds: Some plant species have hard seed coats that can benefit from pre-soaking to help soften the coat and promote germination. In this case, you can soak the seeds in water for a specified duration as recommended for that particular plant species. Once they have undergone the soaking process, you can then proceed to plant them in the appropriate growing medium.
- Hydroponic or water-based systems: If you are using a hydroponic system or any other water-based growing method, you may continue to grow the germinated seeds in water until they develop roots suitable for transferring into the system. In such cases, make sure the water is well-aerated and contains the necessary nutrients for plant growth.
Once the seeds have germinated and you see the emergence of roots and shoots, it is generally not necessary to keep them in water. Germinated seeds are typically ready to be planted in a suitable growing medium such as soil or a potting mix. However, there are a few scenarios where soaking germinated seeds in water can be beneficial:
However, for most traditional soil-based gardening, it is best to transfer the germinated seeds to a growing medium promptly. Soil provides essential nutrients, stability, and aeration necessary for the seedlings’ healthy development.
Remember to handle germinated seeds with care to avoid damaging the delicate roots and shoots during the transfer process.
How much soil should I use for germinated seeds?
2-3 inches (5-7.5 cm). When planting germinated seeds, the amount of soil you use will depend on the size of the container and the specific needs of the plant species you are growing. Here are some general guidelines to help you determine how much soil to use:
- Container size: Choose a container that is appropriate for the size of the germinated seeds and the subsequent growth of the seedlings. The container should have enough depth and width to accommodate the root system and provide ample space for growth. It is recommended to use containers with a minimum depth of 2-3 inches (5-7.5 cm).
- Fill the container: Fill the container with enough soil to allow the germinated seeds to be planted at the appropriate depth. As a general rule, the soil level should be at least 1/4 to 1/2 inch (0.6-1.2 cm) below the rim of the container. This provides space for watering without causing the soil to overflow.
- Planting depth: The depth at which you plant the germinated seeds will depend on the specific plant species. As a general guideline, plant the seeds at a depth that is approximately twice the size of the seed’s diameter. This ensures that the seedlings have enough soil coverage to support their growth.
- Consider seedling growth: Keep in mind that the seedlings will continue to grow after planting. Make sure the container has sufficient soil volume to accommodate the expanding root system as the seedlings develop. This will ensure that the roots have enough space to establish and access nutrients.
It’s worth noting that different plant species have varying soil requirements. Some plants may prefer a specific type of soil or a soil mixture with specific characteristics. Research the specific needs of the plant you are growing to provide the most suitable soil composition and depth for optimal growth.
Additionally, it is important to use a well-draining potting mix or soil to prevent waterlogging and ensure healthy root development. Good-quality potting mixes are generally available at garden centers and nurseries.
How deep should I plant germinated seeds?
Two times the diameter of the seed. The depth at which you should plant germinated seeds varies depending on the specific plant species. As a general guideline, the depth of planting is typically around two times the diameter of the seed. Here are some considerations to help you determine the appropriate planting depth:
- Seed size: Larger seeds generally require deeper planting depths, while smaller seeds are planted more shallowly. Adjust the planting depth accordingly to accommodate the size of the germinated seed.
- Seed packet instructions: The seed packet or accompanying instructions often provide specific guidelines on planting depth for the particular plant species. It is recommended to follow these instructions for optimal results, as they are tailored to the specific needs of the seeds you are planting.
- General rule of thumb: If you do not have specific instructions, a general rule of thumb is to plant germinated seeds at a depth of approximately 2-3 times their diameter. For example, if a seed has a diameter of ¼ inch (0.6 cm), you would plant it at a depth of around ½ to ¾ inch (1.2-1.9 cm).
- Light-dependent seeds: Some seeds require light for germination. These types of seeds are typically planted more shallowly, just barely covered with a thin layer of soil or left on the soil surface. Check if the specific plant species you are working with falls into this category.
Remember that planting depth can impact germination rates and seedling growth. Planting seeds too deeply may result in poor emergence, while planting them too shallowly can expose them to excessive drying or disruption. It’s always helpful to consult specific instructions for the seeds you are planting or refer to gardening resources that provide depth recommendations for common plant species.
What is the best temperature for germinated seeds?
Between 65°F (18°C) and 75°F (24°C). The optimal temperature for germinated seeds can vary depending on the plant species. Different plants have different temperature preferences for successful germination. However, a general guideline for the temperature range is between 65°F (18°C) and 75°F (24°C). This range tends to be suitable for many common garden plants.
Some plants have specific temperature requirements for optimal germination. For instance, cool-season crops like lettuce and spinach prefer temperatures around 55°F (13°C) to 70°F (21°C), while warm-season crops such as tomatoes and peppers thrive at temperatures between 70°F (21°C) and 85°F (29°C).
To ensure the best results, it is advisable to refer to the specific seed packet or consult a gardening resource for the recommended temperature range for the particular plant species you are germinating.
What is the best humidity for germinated seeds?
The ideal humidity for germinated seeds also varies depending on the plant species, but in general, most seeds prefer a moderately high humidity level during germination. A humidity range of 50% to 70% is often recommended.
Maintaining proper humidity is crucial for successful seed germination because it helps prevent the seeds from drying out or becoming too moist, both of which can hinder germination.
There are a few methods you can use to maintain the desired humidity for germinating seeds:
- Using a seed tray with a clear plastic cover or a humidity dome: This creates a mini greenhouse effect and helps retain moisture around the seeds.
- Mist the soil surface: Regularly misting the soil surface with water can help maintain humidity levels. Be careful not to overwater, as excessive moisture can lead to fungal diseases or rot.
- Use a humidifier: If you’re germinating seeds in an indoor environment, you can use a humidifier to control and maintain the humidity levels around the seeds.
- Place the seeds in a plastic bag: For certain seeds that require higher humidity, you can place them in a plastic bag with a few drops of water and seal it partially to create a moist environment. Check regularly for signs of germination and to ensure condensation does not build up excessively.
It’s worth noting that after germination, as the seedlings develop, it is important to gradually reduce humidity to prevent fungal growth and encourage healthy plant growth. Proper air circulation and ventilation become more important as the seedlings mature.
How much light do germinated seeds need?
Around 12 to 16 hours of light each day. Germinated seeds require an adequate amount of light to support their growth. However, the specific light requirements can vary depending on the plant species and the stage of germination. Here are some general guidelines:
- Light intensity: Most germinated seeds benefit from bright but indirect light. Direct sunlight can be too intense for young seedlings and may cause them to dry out or become scorched. Providing bright, diffused light is usually sufficient for healthy growth. Placing the seedlings near a window with filtered sunlight or using fluorescent grow lights is a common approach.
- Duration of light: Germinated seeds typically require around 12 to 16 hours of light each day. This duration mimics the natural day length and promotes optimal growth. You can use a timer to automate the lighting schedule and ensure consistent exposure to light.
- Seed cover: Some seeds, particularly small ones, may benefit from being covered with a thin layer of vermiculite or a similar material during germination. This cover helps maintain moisture levels and protects the seeds from direct light, as excessive light exposure can inhibit germination in certain species.
- Seedling stage: Once the seeds have germinated and the seedlings have emerged, they require more direct light. At this stage, providing them with a few hours of direct sunlight each day or using brighter artificial lighting, such as fluorescent or LED grow lights, can promote healthy growth.
It’s important to note that different plant species have varying light requirements. Some plants are considered “shade-tolerant” and can handle lower light levels, while others are “sun-loving” and require more intense light. Consulting specific plant care guides or seed packets can provide you with more precise information about the light needs of the particular seeds you are germinating.
What percent of germinated seeds survive?
70% or even 90%. The survival rate of germinated seeds can vary widely depending on several factors, including the specific plant species, environmental conditions, seed quality, and the care provided during germination. It’s difficult to provide a single percentage for the survival rate of germinated seeds since it can vary greatly.
Under ideal conditions and with proper care, many common garden plant seeds have relatively high germination rates, often exceeding 70% or even 90%. However, some plant species may have lower germination rates, and factors such as seed age, viability, and genetic variability can influence the overall survival rate.
It’s important to note that not all germinated seeds will ultimately grow into healthy, mature plants. Some seedlings may fail to establish due to various factors like pests, diseases, improper watering, nutrient deficiencies, or unfavorable environmental conditions.
To maximize the survival rate of germinated seeds, it is crucial to provide suitable growing conditions, including proper lighting, temperature, humidity, watering, and nutrition. Following recommended guidelines for each plant species and providing attentive care throughout the germination and seedling stages can help improve the chances of successful survival and growth.
When should I repot germinated seedlings that have been planted?
The timing for repotting germinated seeds depends on several factors, including the specific plant species, the growth rate of the seedlings, and the size of the current container. Here are some general guidelines to consider:
- First true leaves: Once the seedlings have developed their first set of true leaves, it’s usually an indication that they are ready to be repotted. True leaves are the second set of leaves that appear after the initial cotyledon or seed leaves.
- Size of seedling: The size of the seedling is another indicator for repotting. If the seedlings have outgrown their current container and their roots are starting to become crowded or emerge from the drainage holes, it’s time to transplant them into larger pots.
- Root development: Check the root system of the seedlings. If you see a healthy network of roots filling the current container, it’s a sign that they need more space to grow. Be gentle when checking the roots to avoid damaging them.
- Growth rate: Some plant species have faster growth rates than others. If you notice rapid growth and the seedlings appear robust and vigorous, they may need to be repotted earlier than slower-growing plants.
When repotting germinated seeds, it’s essential to choose a new container that is slightly larger than the current one, allowing room for the roots to expand. Use a well-draining potting mix appropriate for seedlings or young plants.
Remember to handle the seedlings with care during the repotting process to minimize damage to the delicate roots and leaves. After repotting, provide appropriate watering and light conditions to support their continued growth.
It’s worth noting that some plant species have specific requirements or preferences for repotting, so referring to plant-specific care guides or resources can provide you with more accurate instructions for repotting your particular seed