There could be several reasons why the leaves of your houseplants keep falling off. Here are some common factors to consider:
- Watering issues: Overwatering or underwatering can cause stress to plants and lead to leaf drop. Make sure you are watering your plants appropriately by checking the moisture level in the soil. Avoid allowing the soil to become overly dry or waterlogged.
- Light conditions: Insufficient or excessive light can cause leaf drop in houseplants. Different plants have different light requirements, so ensure that your plants are placed in suitable locations with the right amount of light for their specific needs.
- Temperature and humidity: Extreme temperature fluctuations or excessively dry air can cause stress to plants. Maintain a consistent temperature and humidity level, particularly during winter when indoor heating can dry out the air. Using a humidifier or placing a tray of water near the plants can help increase humidity.
- Nutrient deficiencies: Lack of essential nutrients can lead to leaf loss. Ensure that your plants are receiving the necessary nutrients through proper fertilization. Use a balanced fertilizer formulated for indoor plants and follow the instructions for application.
- Pest infestation: Insects like aphids, mealybugs, spider mites, or scale insects can cause damage to plants, resulting in leaf drop. Inspect your plants regularly for signs of pests, such as tiny insects, webbing, or sticky residue on the leaves. If pests are detected, treat your plants with appropriate methods, such as insecticidal soap or natural predators.
- Transplant shock: If you recently repotted your houseplant, it may undergo a period of adjustment known as transplant shock. During this time, the plant may drop some leaves as it adapts to its new environment. Ensure you provide proper care and avoid overhandling the plant during this sensitive period.
- Natural leaf cycle: Some plants shed older leaves as part of their natural growth cycle. It’s normal for some leaves to turn yellow and fall off while new ones emerge. Research the specific plant species you have to understand its natural leaf-shedding pattern.
By evaluating these factors and making necessary adjustments to your care routine, you can help prevent excessive leaf drop and promote healthy growth for your houseplants.
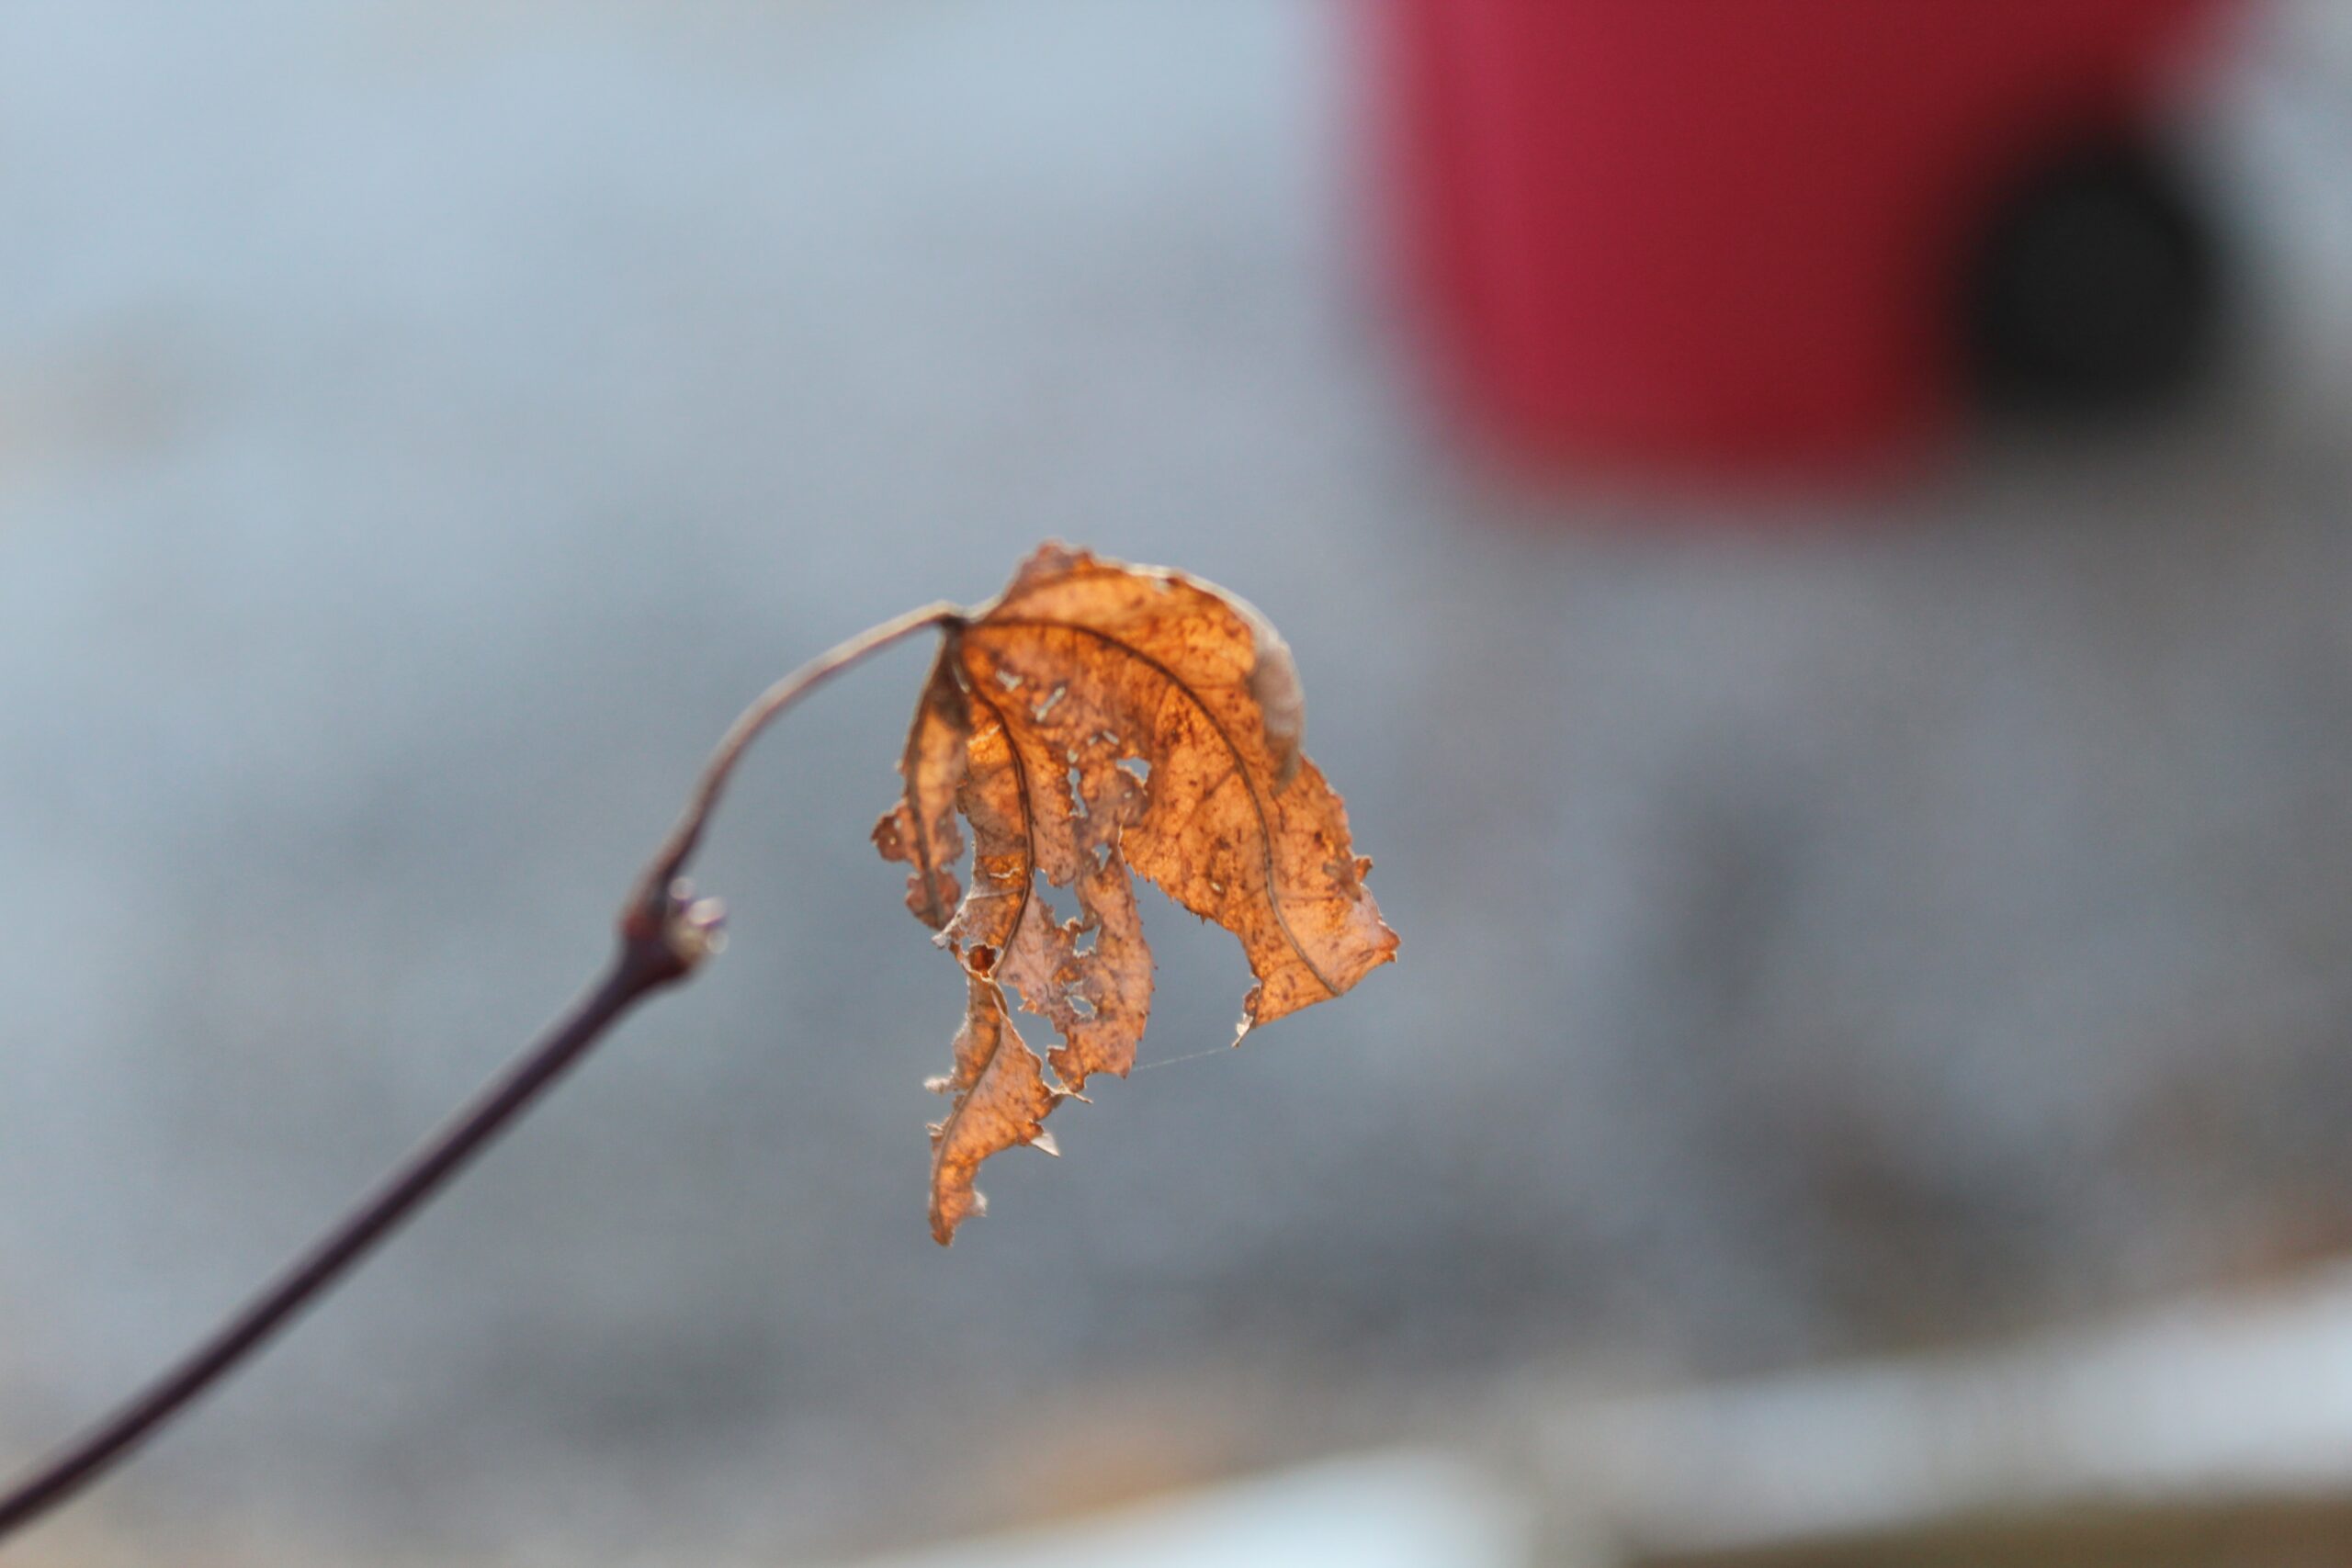
What to do with the Dead Leaves that Fall off Houseplants?

When the leaves of your houseplants fall off, it’s important to properly handle the dead leaves to maintain a clean and healthy environment for your plants. Here are some recommended steps for dealing with dead leaves:
- Remove the fallen leaves: As soon as you notice dead leaves on the floor or around your plants, carefully pick them up and remove them. Leaving dead leaves in the vicinity of your plants can create a breeding ground for pests or diseases.
- Inspect the leaves: Take a close look at the fallen leaves for any signs of pests, discoloration, or disease. This can provide valuable information about the health of your plants. If you notice any issues, it may be necessary to take appropriate measures to address them.
- Dispose of the leaves: Place the dead leaves in a compost bin or discard them in a sealed bag. If you have a composting system, you can add the leaves to the compost pile. However, it’s important to note that some plant diseases or pest eggs can survive in compost, so avoid composting if you suspect any issues with your plants.
- Sanitize your hands and tools: After handling the dead leaves, thoroughly wash your hands to prevent the spread of any potential pests or diseases. If you used any gardening tools during the process, clean them as well to avoid cross-contamination.
- Assess and adjust care routine: Use the fallen leaves as an opportunity to assess the overall health of your houseplants. If you notice excessive leaf drop or recurring issues, it may indicate underlying problems with watering, light, temperature, or pest control. Review your care routine and make any necessary adjustments to provide optimal conditions for your plants.
By promptly removing dead leaves and maintaining a clean environment, you can minimize the risk of pest infestations and diseases. Additionally, regularly monitoring your plants’ health will help you identify and address any issues before they become severe.
What is the Best way to Prevent Leaves from Falling off my Houseplants?
Preventing leaves from falling off your houseplants requires providing the optimal growing conditions and practicing good plant care. Here are some tips to help prevent leaf drop:
- Proper watering: Water your plants appropriately by checking the moisture level in the soil before watering. Avoid overwatering, as it can lead to root rot and stress the plant. Conversely, ensure that you don’t underwater, as it can cause the plant to wilt and shed leaves. Learn the specific watering needs of each plant species and adjust your watering frequency accordingly.
- Adequate lighting: Place your houseplants in locations that provide the right amount of light for their specific needs. Different plants have different light requirements, so research your plants to determine if they prefer bright, indirect light or low-light conditions. Ensure they receive enough light without being exposed to direct sunlight, which can scorch the leaves.
- Temperature and humidity control: Maintain consistent temperature and humidity levels in the environment where your houseplants are located. Sudden temperature fluctuations, cold drafts, or excessively dry air can stress plants and cause leaf drop. Avoid placing plants near heating or cooling vents, and use a humidifier or pebble tray to increase humidity if necessary.
- Fertilization: Feed your houseplants with a balanced fertilizer formulated for indoor plants. Nutrient deficiencies can lead to leaf drop, so ensure your plants receive the necessary nutrients. Follow the instructions on the fertilizer package for the correct application and frequency.
- Pest prevention: Regularly inspect your plants for pests, such as aphids, mealybugs, spider mites, or scale insects. Pests can weaken plants and cause leaf drop. If you notice any signs of infestation, take immediate action to control the pests using appropriate methods, such as insecticidal soap or natural predators.
- Avoid stress factors: Minimize any stress factors that can impact your plants, such as sudden changes in environment, physical damage, or overcrowding. Handle your plants with care, avoid excessive pruning, and provide adequate space for growth.
- Regular maintenance: Regularly dust the leaves of your houseplants to keep their pores open and allow for proper transpiration. Additionally, inspect your plants for any signs of disease or nutrient deficiencies, and address them promptly.
Remember that some leaf drop is a natural part of a plant’s growth cycle, particularly as older leaves are replaced with new ones. However, by providing appropriate care and addressing any issues promptly, you can help minimize excessive leaf drop and promote healthy growth for your houseplants.
What is the Best way to Rejuvenate a Sickly Houseplant?
When dealing with a sick houseplant, it’s important to take immediate action to try to rejuvenate it and restore its health. Here are some steps you can take to help revive a sickly houseplant:
- Assess the plant’s needs: Examine the plant closely to determine the possible causes of its decline. Look for signs of pests, disease, nutrient deficiencies, or environmental stress factors. Understanding the underlying issue will guide your rejuvenation efforts.
- Adjust watering: Ensure that you are watering the plant properly based on its specific needs. Avoid overwatering, which can lead to root rot, and underwatering, which can cause dehydration. Adjust your watering schedule and technique accordingly, allowing the soil to partially dry out between waterings.
- Check lighting conditions: Evaluate the plant’s lighting conditions. Ensure it is placed in an area that provides the appropriate amount of light for its species. If the plant requires more or less light, move it to a suitable location or provide supplemental artificial lighting if necessary.
- Improve humidity: Some plants require higher humidity levels to thrive. If your sickly houseplant prefers a more humid environment, increase humidity by using a humidifier, placing a tray of water near the plant, or misting the leaves regularly. Ensure proper air circulation to prevent fungal issues.
- Prune and remove affected parts: Trim off any dead, diseased, or yellowing leaves, stems, or branches from the plant. This helps redirect the plant’s energy to healthier parts and prevents the spread of diseases. Use clean, sterilized pruning tools to avoid further damage.
- Address pests and diseases: If you observe signs of pests or diseases, take appropriate measures to control them. This can include using insecticidal soaps, neem oil, or other natural remedies for pests, and applying appropriate fungicides or treatments for diseases. Follow the instructions carefully and treat the plant accordingly.
- Provide appropriate nutrition: Feed the sickly plant with a balanced fertilizer designed for indoor plants. Ensure that the plant receives the necessary nutrients for its recovery. Follow the recommended dosage and frequency instructions on the fertilizer packaging.
- Maintain consistent care: Consistency is crucial for a sickly plant’s recovery. Stick to a regular care routine, including watering, fertilizing, and providing appropriate environmental conditions. Avoid sudden changes that can stress the plant further.
- Be patient: Rejuvenating a sickly plant takes time. Be patient and give the plant an opportunity to recover. Monitor its progress and make adjustments to your care routine as needed.
Remember, not all sickly plants can be revived, especially if the damage is severe or if the plant is too far gone. In such cases, it may be best to consider replacing the plant and starting fresh.
Are Dead Leaves Safe for my Cat to Eat?
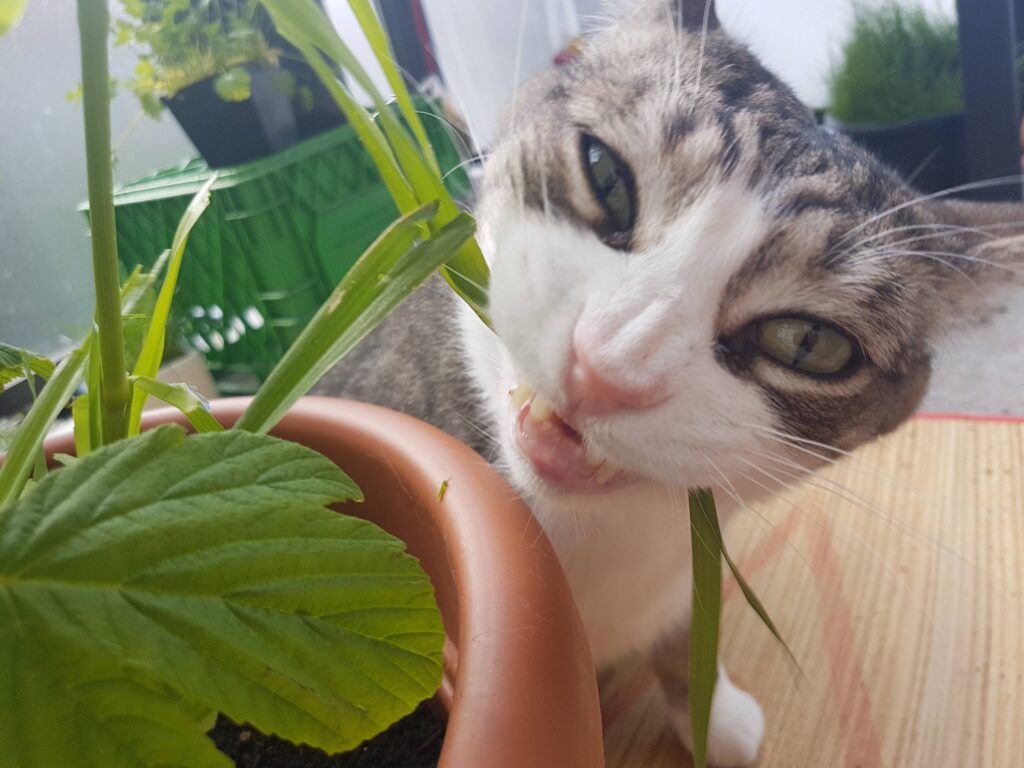
It is generally not recommended for cats to eat dead leaves from houseplants or any plants for several reasons:
- Toxicity: Many common houseplants can be toxic to cats. Even if the leaves are dead, they may still retain toxic compounds that could harm your cat if ingested. Some common plants toxic to cats include lilies, azaleas, certain types of ferns, and certain species of palm plants. It’s essential to research the specific plants you have in your home to ensure they are safe for your cat.
- Pesticide or chemical residue: Dead leaves may have come into contact with pesticides or other chemicals used for plant care. Ingesting these residues can be harmful to your cat’s health. If you have treated your plants with any chemicals, it’s best to keep them out of your cat’s reach.
- Digestive issues: Ingesting dead leaves can cause digestive problems for cats. The leaves may be difficult to digest and can potentially lead to an upset stomach, vomiting, or even intestinal blockage if consumed in large quantities.
To ensure the safety of your cat, it’s best to prevent them from accessing dead leaves or any plants that could potentially be toxic. Keep your cat away from houseplants or create physical barriers to prevent their access to the plants. Additionally, consider providing your cat with safe and appropriate alternatives for chewing and play, such as cat-safe toys or designated grasses or herbs specifically grown for cats.
If you suspect that your cat has ingested any toxic plants or is displaying signs of illness after coming into contact with plants, it’s important to consult your veterinarian for guidance and immediate medical attention.
Are Dead Leaves Safe for my Dog to Eat?
Not recommended overall. While dead leaves are generally less concerning for dogs compared to certain toxic plants, it is still not recommended to let your dog eat them. Here’s why:
- Choking and obstruction: Dead leaves can be dry, brittle, and potentially sharp. If your dog consumes a large amount of dead leaves, they may pose a choking hazard or cause an obstruction in the digestive system, especially if the leaves are not adequately chewed.
- Pesticides and chemicals: Similar to live plants, dead leaves may have come into contact with pesticides, fertilizers, or other chemicals used for plant care. Ingesting these residues can be harmful to your dog’s health and may cause adverse reactions or toxicity.
- Toxic plants: Some plants, even in their dead state, can be toxic to dogs. It’s important to identify the specific plants you have in your home or yard and understand their toxicity levels. Certain common houseplants, like dieffenbachia, poinsettia, or philodendron, can be toxic to dogs. Additionally, some trees or plants in outdoor areas may have toxic leaves. If you are unsure about the safety of a particular plant, it’s best to err on the side of caution and prevent your dog from consuming its leaves.
To keep your dog safe, it is recommended to discourage them from eating dead leaves. Train your dog to avoid plants and provide them with safe and appropriate chewing alternatives, such as dog-safe toys or treats. Additionally, ensure your yard and indoor areas are free from toxic plants, and supervise your dog when they are in environments where dead leaves are present.
If you suspect that your dog has ingested toxic plants or is showing signs of illness after consuming leaves, it’s important to contact your veterinarian for guidance and appropriate care. They can provide specific advice based on your dog’s health and the potential toxicity of the plants involved.
Why Do my Pets Like to Eat Dead Leaves?
Pets, such as dogs and cats, may be attracted to eating dead leaves for various reasons, including instinctual behaviors and sensory appeal. Here are a few possible explanations:
- Texture and taste: Dead leaves may have a different texture or taste compared to their regular food, which can pique your pet’s curiosity and interest. The dry and crunchy texture of dead leaves might provide a satisfying chewing experience for some animals.
- Natural instinct: In the wild, animals may consume plant material, including leaves, as part of their diet. This behavior can be driven by their natural instinct to explore and sample different food sources. Even domesticated pets may retain some of these ancestral instincts.
- Nutritional instinct: Some animals, especially those that spend time outdoors, may eat grass or leaves, including dead ones, as a means to obtain additional nutrients or aid in digestion. However, it’s important to note that the exact nutritional benefits of eating dead leaves for pets are not well understood, and it’s generally recommended to provide a balanced and appropriate diet for their nutritional needs.
- Boredom or curiosity: Pets may resort to eating dead leaves out of boredom or curiosity, especially if they are not adequately stimulated or if they lack other appropriate chewing alternatives or toys. Chewing on leaves can offer a form of entertainment or sensory stimulation for them.
While some occasional ingestion of dead leaves may not cause harm to your pets, it’s essential to be cautious, especially if the leaves are from toxic plants or if your pet consumes a large amount. Monitor their behavior closely and prevent access to potentially harmful plants. If you notice any adverse effects, such as vomiting, diarrhea, or signs of distress, contact your veterinarian for further guidance and evaluation.
Providing your pets with a safe and engaging environment, along with appropriate chew toys and a balanced diet, can help redirect their chewing behaviors away from potentially harmful substances like dead leaves.
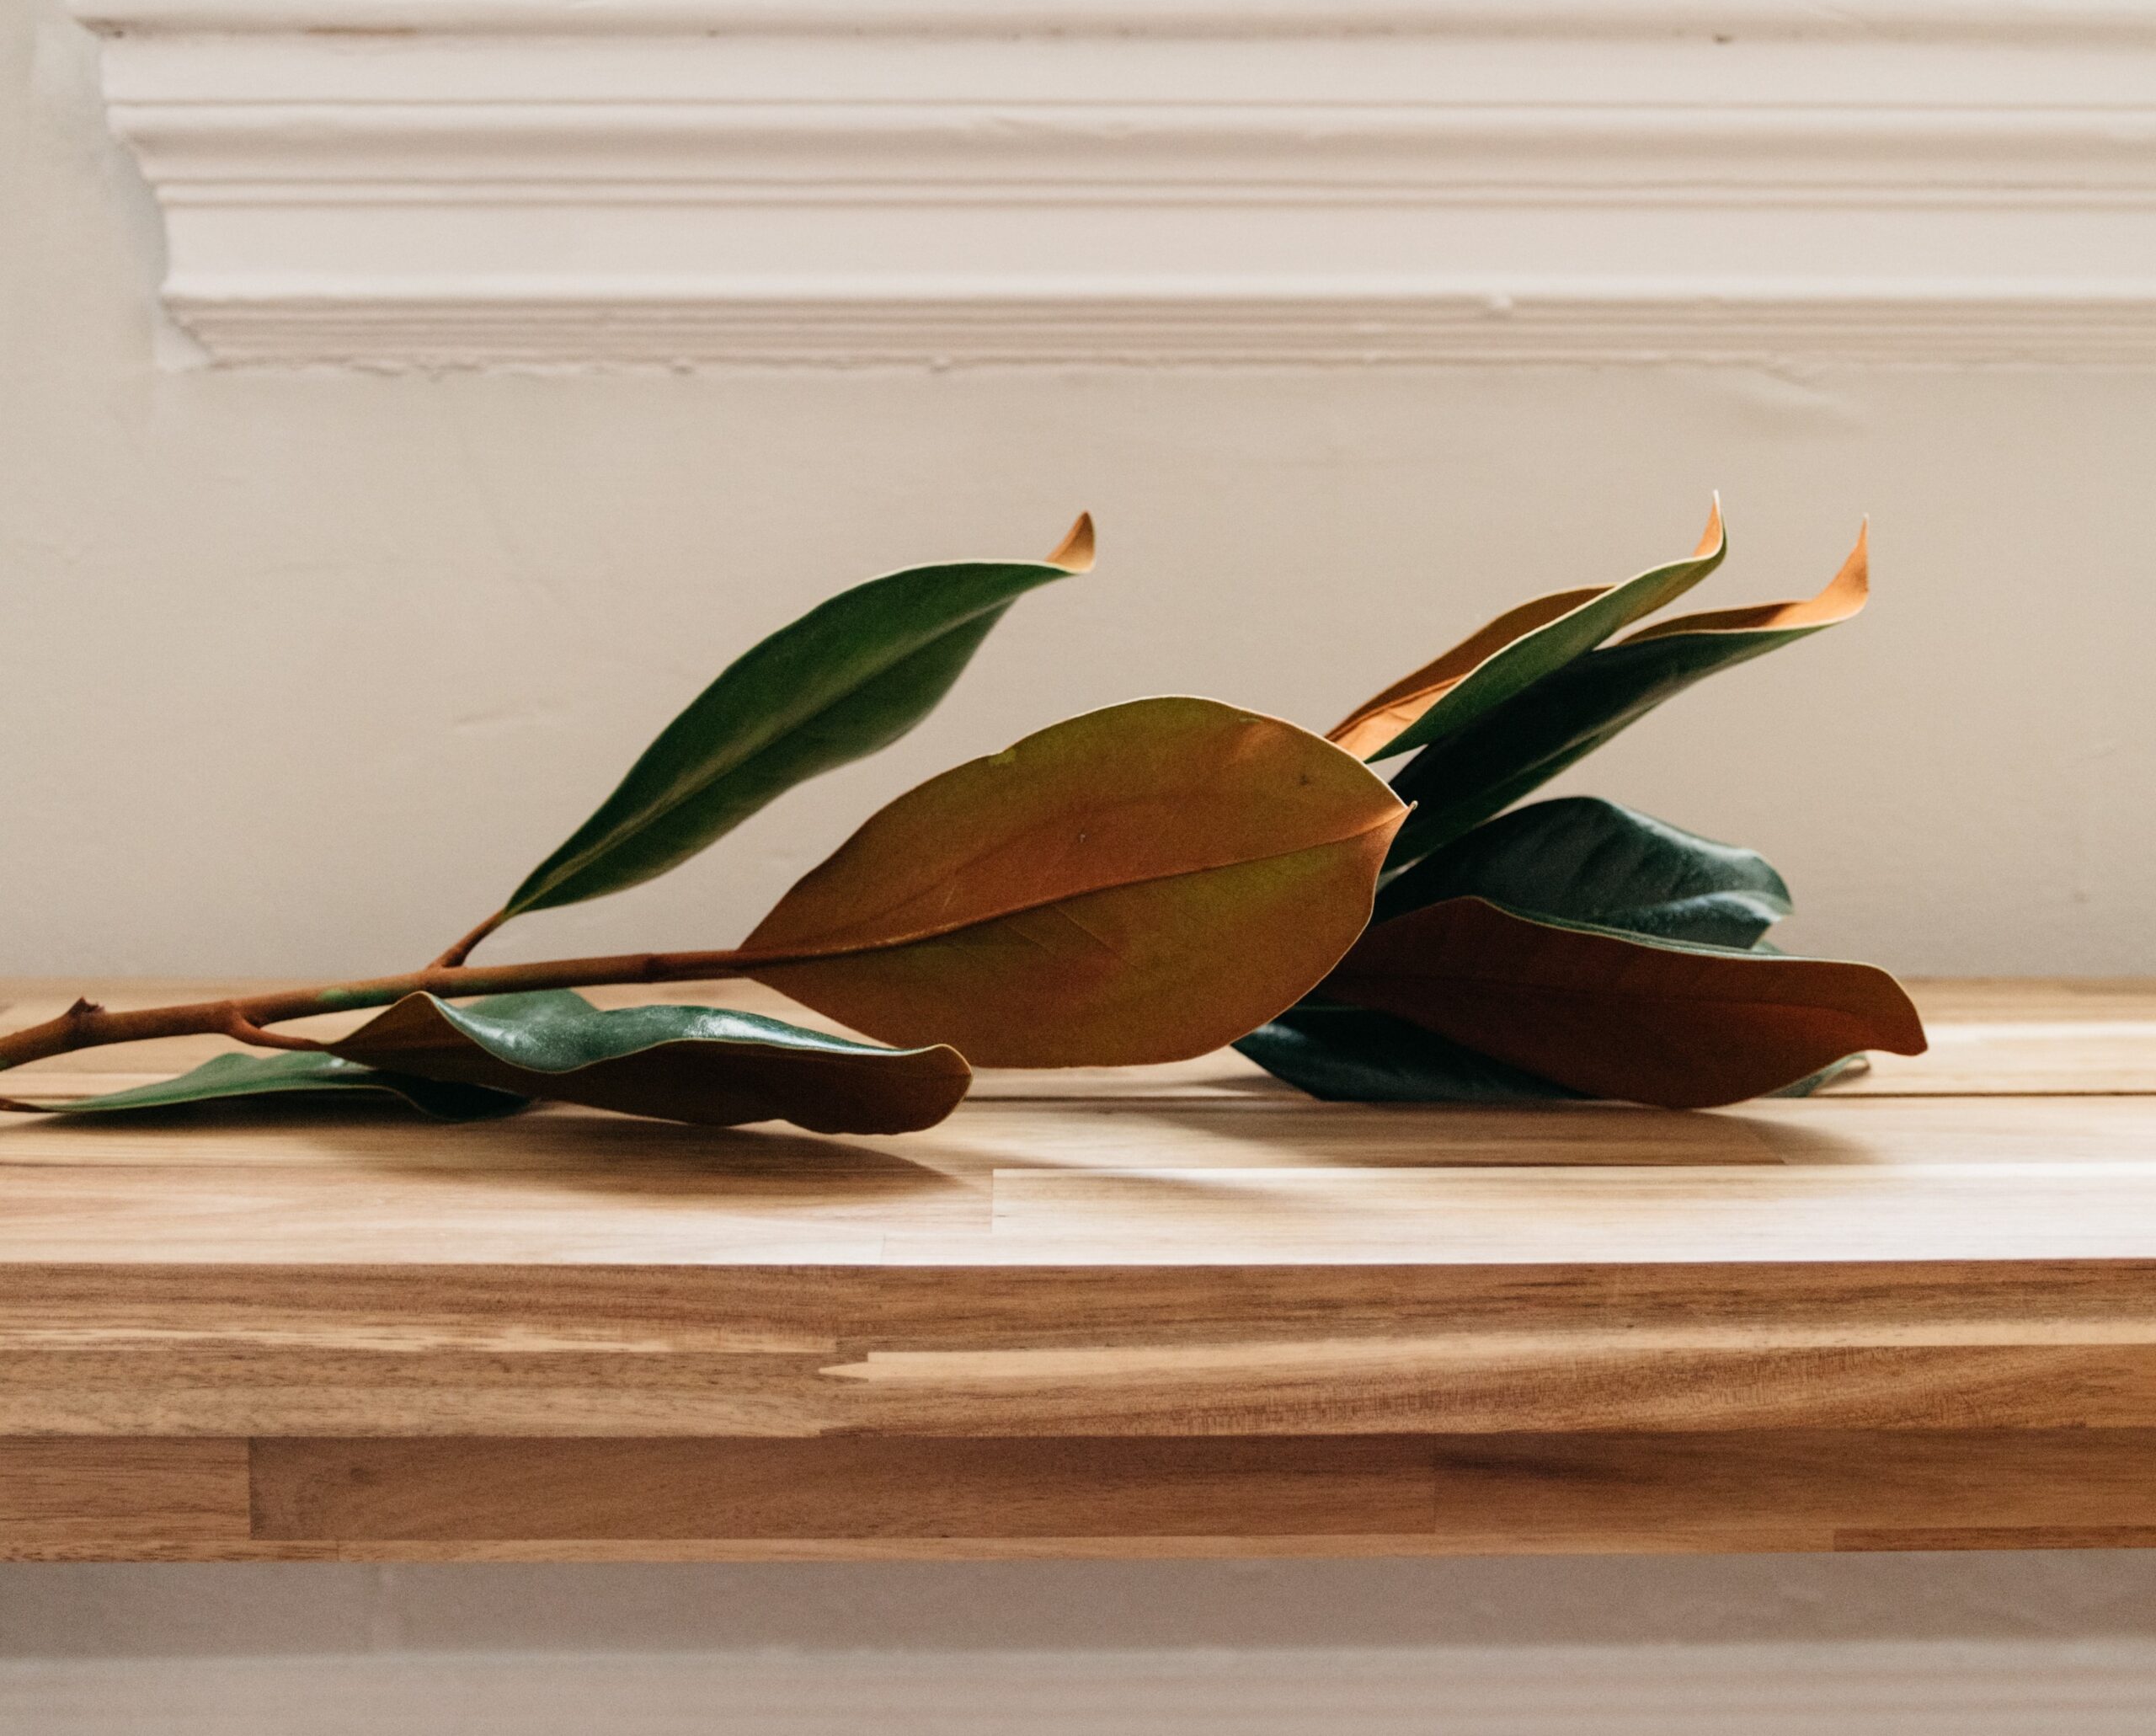
What Should I do with Dead Branches of my Houseplant?
When you have dead branches on your houseplant, it’s important to properly handle and address them to maintain the plant’s health and appearance. Here’s what you can do with dead branches:
- Assess the extent of damage: Examine the plant and determine the extent of the dead branches. If only a few branches or parts of branches are affected, you can proceed with selective pruning. However, if a significant portion of the plant is dead or damaged, it may be better to consider more extensive pruning or even removing the entire plant if necessary.
- Prune dead branches: Using clean, sterilized pruning shears or scissors, carefully trim off the dead branches from the plant. Make clean cuts just above a healthy node or where the branch meets another healthy branch. Pruning encourages new growth and redirects the plant’s energy to healthier parts.
- Dispose of the dead branches: Once you have pruned the dead branches, collect and dispose of them properly. You can add them to a compost pile if you have one, but avoid composting branches from diseased plants or those treated with pesticides. Otherwise, discard the branches in your regular waste or green waste bin.
- Monitor and adjust care: After pruning the dead branches, closely monitor your plant’s condition and adjust your care routine accordingly. Ensure proper watering, lighting, and other environmental factors to support the plant’s recovery and encourage new growth.
- Prevent future issues: To minimize the occurrence of dead branches in the future, maintain a healthy and suitable environment for your houseplant. Provide adequate light, water the plant appropriately, and avoid extreme temperature fluctuations. Regularly inspect your plants for signs of pests, diseases, or nutrient deficiencies, and address any issues promptly.
Remember, pruning should be done carefully and selectively, focusing on removing dead or damaged parts. Avoid over-pruning, as it can stress the plant. If you’re uncertain about the pruning process or the health of your houseplant, consider consulting a local horticulturist or plant expert for guidance specific to your plant species.
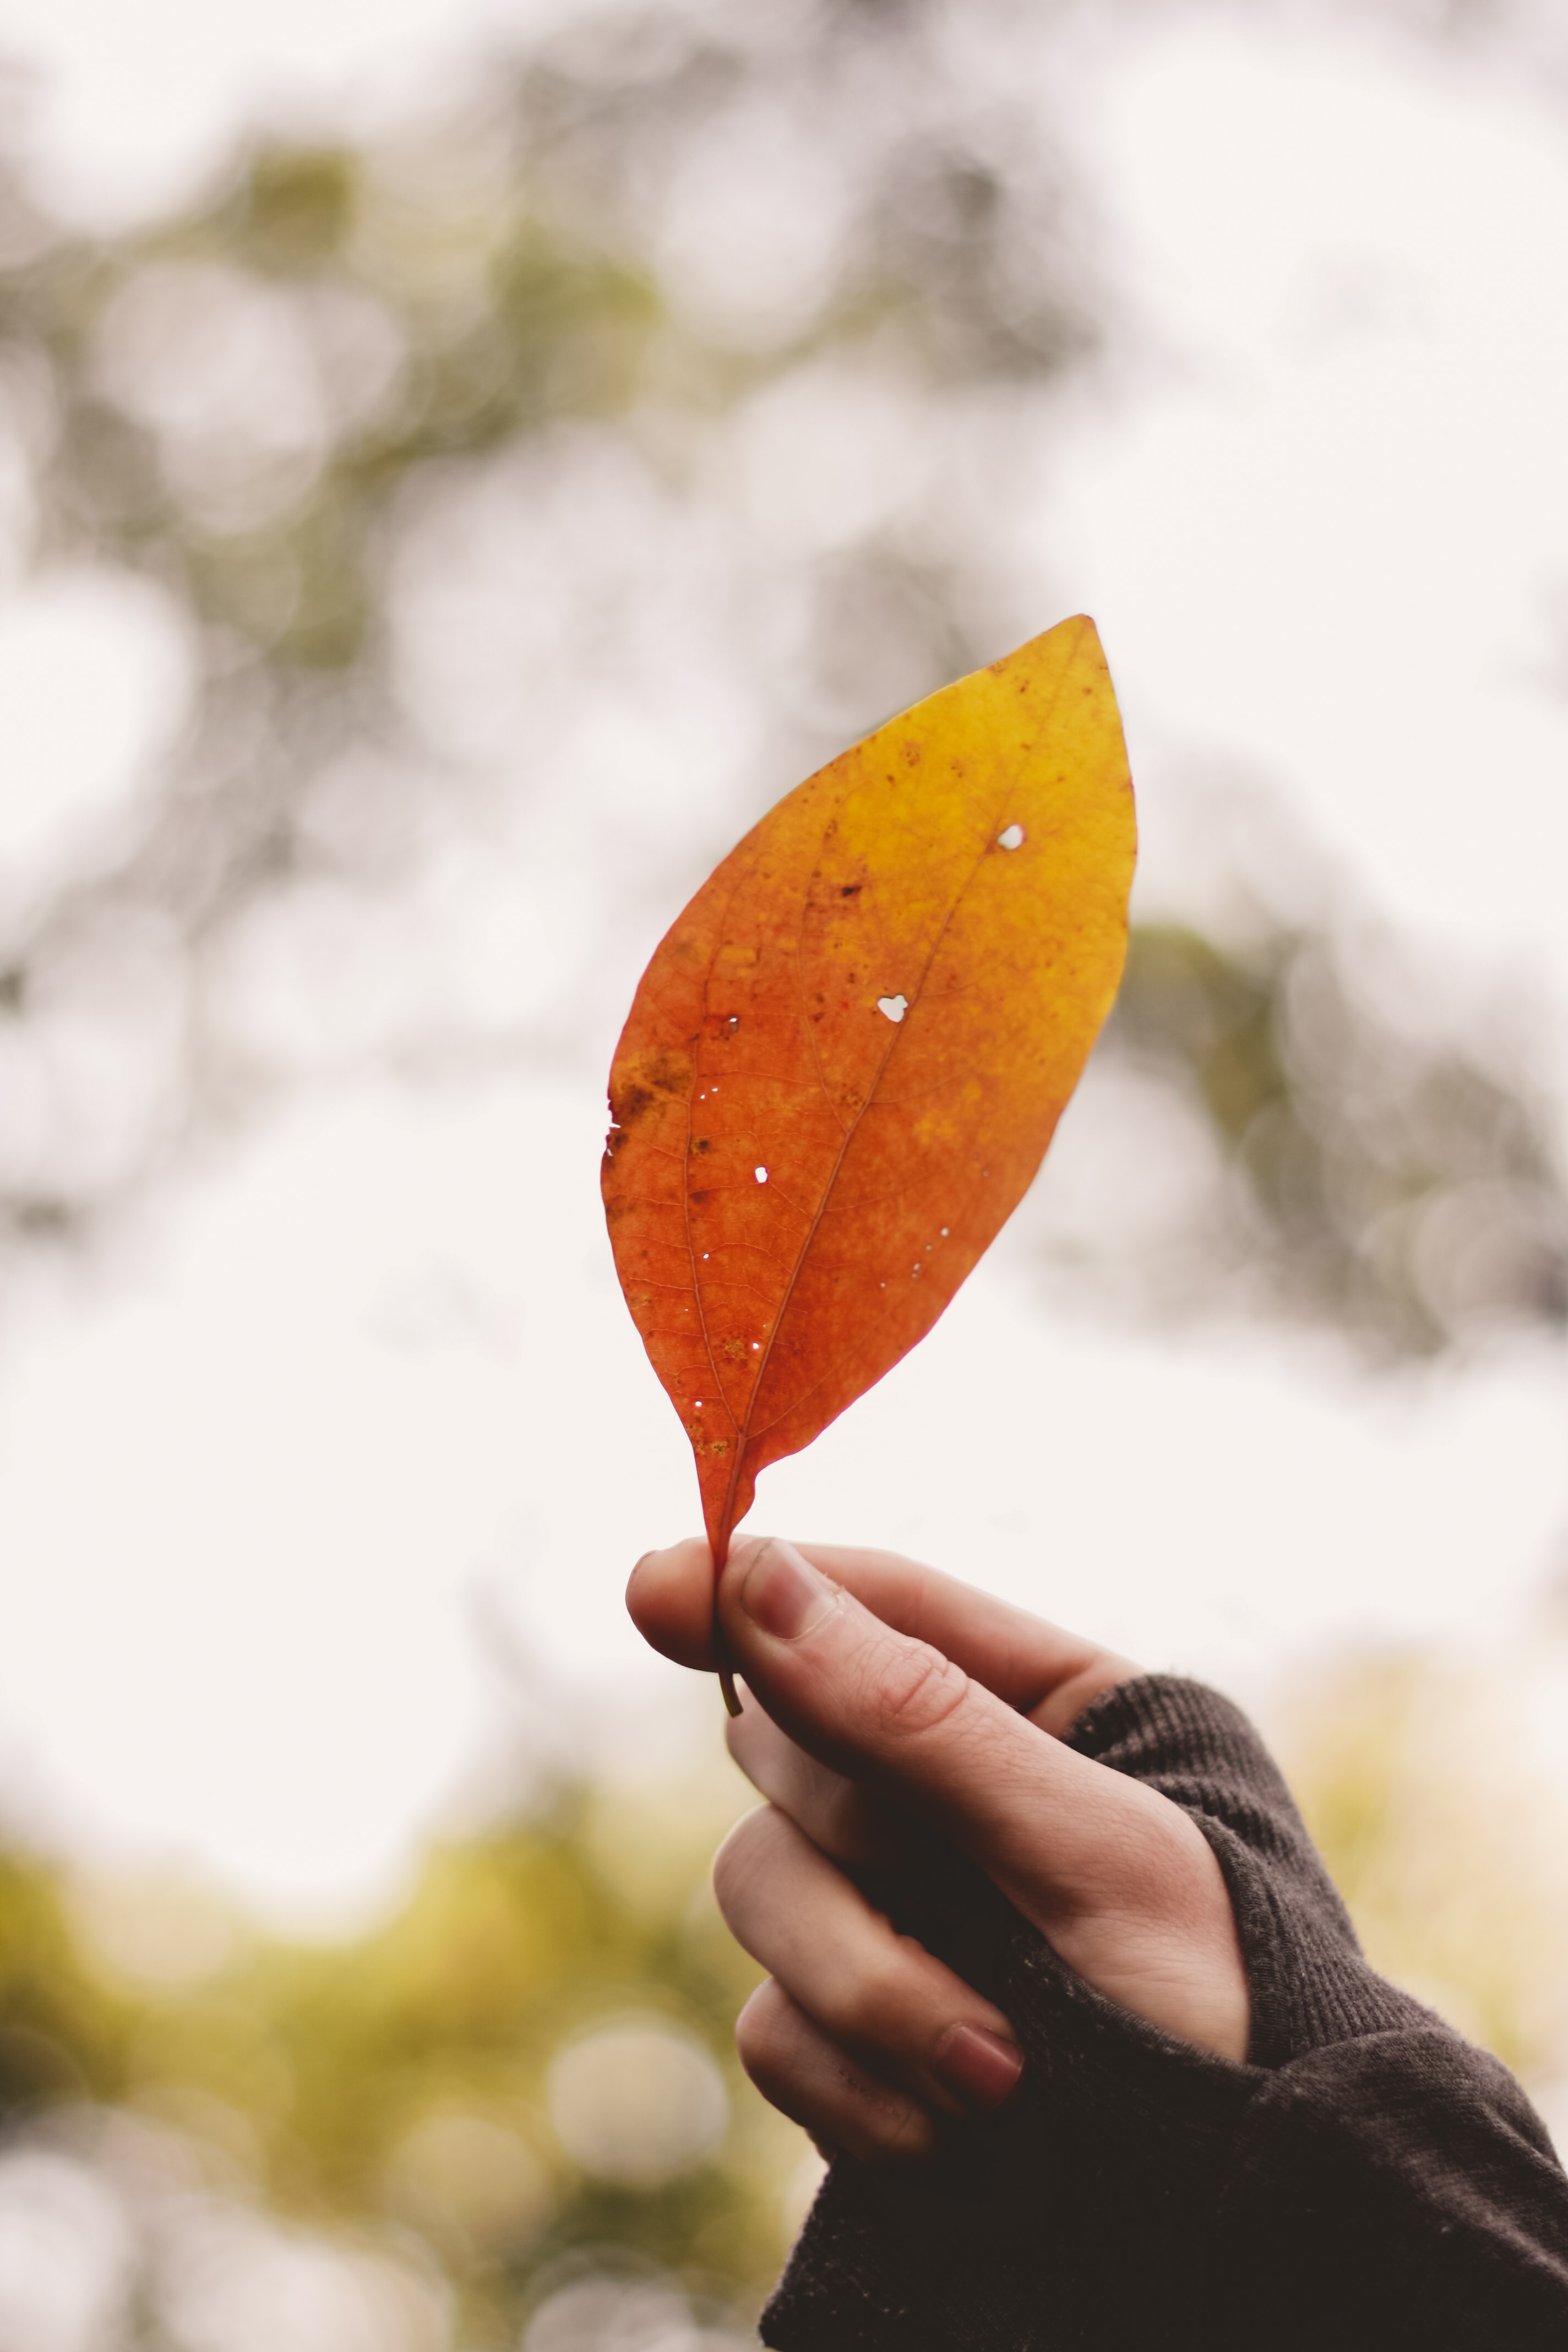
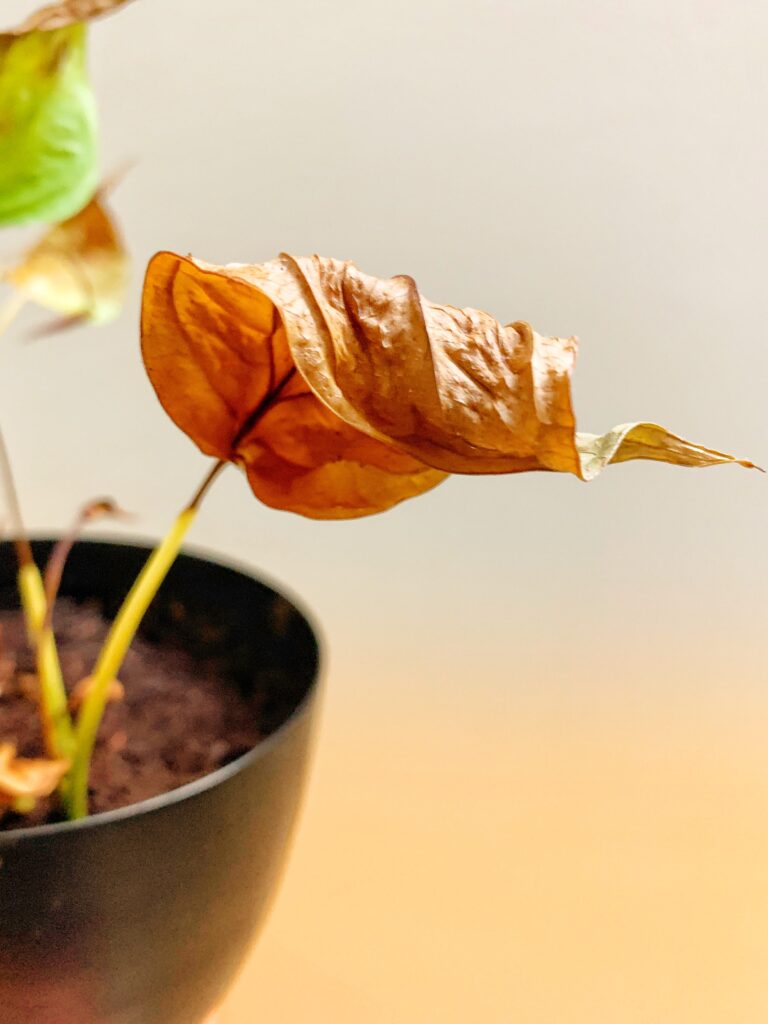
Should I Remove Yellow or Brown Leaves from my Indoor Plants?
Yes, it is generally a good idea to remove yellow or brown leaves from your indoor plants. Here’s why:
- Aesthetics: Yellow or brown leaves can make your plant look unattractive and detract from its overall appearance. By removing these leaves, you can improve the plant’s visual appeal.
- Preventive measure: Yellow or brown leaves can be an indication of a problem with your plant, such as overwatering, underwatering, nutrient deficiencies, pests, or diseases. Removing the affected leaves can help prevent the spread of these issues to healthy parts of the plant.
- Resource allocation: When a leaf turns yellow or brown, it means that it is no longer functioning effectively. By removing these leaves, you redirect the plant’s resources to healthier parts, promoting new growth and overall plant health.
Here’s how you can go about removing yellow or brown leaves:
- Inspect the plant: Regularly check your indoor plants for any yellow or brown leaves. Gently touch the leaves to see if they are loose or ready to be removed.
- Trim the affected leaves: Using clean and sterilized pruning shears or scissors, carefully trim the yellow or brown leaves at the base where they meet the stem or branch. Make a clean cut to avoid damaging the healthy parts of the plant.
- Dispose of the leaves: Collect the removed leaves and dispose of them properly. You can add them to a compost pile if you have one, as long as the leaves are not from plants affected by diseases or treated with pesticides. Otherwise, discard the leaves in your regular waste or green waste bin.
- Monitor the plant: After removing the yellow or brown leaves, keep an eye on your plant’s overall health. Assess the watering, lighting, and other care aspects to ensure that you are providing optimal conditions for its growth.
Remember, occasional yellowing or browning of leaves can be a natural part of a plant’s life cycle, especially for older leaves. However, if you notice a consistent pattern of yellowing or browning across multiple leaves or a significant decline in your plant’s health, it may indicate a deeper issue that requires attention. In such cases, it’s advisable to investigate and address the underlying cause or seek guidance from a plant expert or horticulturist.
Does Removing Dying Leaves Stimulate Your Plant to Grow more Leaves?
Yes. Removing dying leaves from your plant can indeed stimulate growth and encourage the production of new leaves. Here’s how:
- Resource allocation: Plants have limited resources, including energy, water, and nutrients. When a leaf starts to die or turn yellow or brown, it indicates that the leaf is no longer functioning effectively and is not contributing to the plant’s overall health. By removing these dying leaves, you redirect the plant’s resources to more vital parts, such as developing new leaves or strengthening existing healthy foliage.
- Signal for growth: Removing dying leaves sends a signal to the plant that there is a need for new growth. Plants have mechanisms that respond to damage or loss, and by removing dying leaves, you trigger these mechanisms, prompting the plant to produce new leaves to compensate for the loss.
- Elimination of potential pathogens: Dying leaves can sometimes harbor pests, diseases, or fungi. By removing these leaves promptly, you help prevent the spread of such issues to healthy parts of the plant. This promotes a healthier environment for new leaf growth.
- Enhanced aesthetics: Removing dying leaves improves the overall appearance of the plant. It creates a cleaner, neater look and enhances the visual appeal of your indoor space.
It’s important to note that while removing dying leaves can stimulate new growth, it’s equally crucial to address the underlying issues that may have caused the leaves to deteriorate in the first place. Assess the plant’s care, including watering, lighting, humidity, and nutrient levels, to ensure it receives the necessary conditions for healthy leaf development.
However, it’s essential to strike a balance and avoid over-pruning. Removing too many leaves, especially healthy ones, can stress the plant and hinder its growth. Always practice selective pruning and focus on removing only the dying or damaged leaves.
Additionally, different plant species may have varying responses to leaf removal, so it’s helpful to research the specific needs and growth patterns of your plant to ensure proper care.
Should I Remove Dead Leaves from the Soil Around the Base of the Plant?
Yes. It is generally recommended to remove dead leaves from the soil around the base of your plant. Here’s why:
- Aesthetics: Dead leaves on the soil surface can make the plant’s overall appearance untidy. By removing them, you can improve the visual appeal of your plant and create a cleaner look.
- Disease prevention: Dead leaves on the soil can serve as a breeding ground for fungi, bacteria, or pests. Removing them helps minimize the risk of these organisms thriving and potentially causing diseases or infestations that could harm your plant.
- Nutrient cycling: Dead leaves on the soil can hinder nutrient cycling and absorption. They can prevent proper water drainage and air circulation in the soil, leading to stagnant conditions that may negatively affect the plant’s root health. Removing the dead leaves allows the soil to function optimally and promotes better nutrient uptake.
When removing dead leaves from the soil, follow these steps:
- Gently lift or move the plant: If your plant allows for it, carefully lift or move the plant aside to provide better access to the soil around the base.
- Remove the dead leaves: Using your fingers or a small gardening tool, gently pick up the dead leaves from the soil surface. Be careful not to disturb the plant’s roots or cause any damage.
- Dispose of the dead leaves: Collect the removed dead leaves and dispose of them properly. You can add them to a compost pile if they are from healthy plants and free from diseases or pesticides. Otherwise, discard them in your regular waste or green waste bin.
- Adjust watering and care: After removing the dead leaves, evaluate your plant’s watering routine and care practices. Ensure you are providing appropriate water levels and maintaining suitable environmental conditions to support the plant’s health and prevent further leaf drop.
Remember that occasional leaf drop is a natural part of a plant’s life cycle, but if you notice excessive or continuous leaf drop, it could indicate an underlying issue that requires attention, such as improper watering, lighting, or nutrient deficiencies. Address any potential problems to support your plant’s overall well-being.
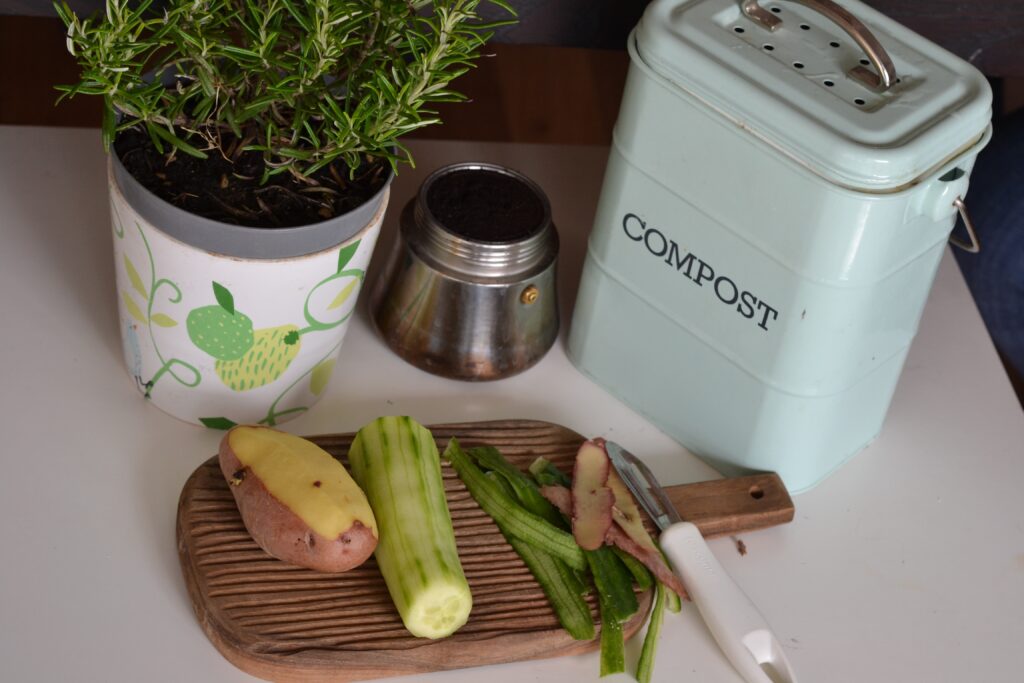
Should I Use Dead Leaves as Compost?
Yes, dead leaves can be used as compost material. They contribute valuable organic matter and nutrients to the compost pile, improving its structure and fertility. Here are some considerations and tips for using dead leaves as compost:
- Leaf selection: It’s best to use leaves from healthy plants that are free from diseases, pests, or chemical treatments. Avoid using leaves from plants known to be toxic to composting, such as walnut or eucalyptus leaves.
- Shredding or mulching: Shredding or mulching the dead leaves before adding them to the compost pile can speed up the decomposition process. Smaller pieces break down more quickly and create a more balanced mixture in the compost.
- Carbon-to-nitrogen ratio: Dead leaves are considered a high-carbon (or “brown”) material in composting. To maintain a balanced compost pile, it’s important to mix them with high-nitrogen (or “green”) materials, such as kitchen scraps or grass clippings. Aim for a carbon-to-nitrogen ratio of roughly 30:1 to facilitate decomposition.
- Layering and mixing: Alternate layers of dead leaves with other compost materials, such as kitchen waste or grass clippings, to create a well-balanced compost pile. Periodically mix or turn the pile to ensure proper aeration and decomposition.
- Moisture management: Dead leaves tend to be dry, so it’s crucial to monitor the moisture level in your compost pile. Add water if necessary to maintain a moist, but not waterlogged, environment. The compost should have the consistency of a damp sponge.
- Patience and time: Dead leaves take time to break down fully. Depending on the size of the leaves, the shredding/mulching process, and the overall composting conditions, it can take several months to a year for the leaves to decompose completely. Be patient and allow nature to do its work.
- Finished compost: Once the composting process is complete, the decomposed leaves will have transformed into nutrient-rich compost. You can use this compost to enrich garden soil, as a top dressing for potted plants, or as a soil amendment in various gardening applications.
By incorporating dead leaves into your composting routine, you can reduce waste, improve soil health, and create a valuable resource for your garden.